The thing that gives away a bad drywall patch is not the hole. It is the shadow around it. You walk into a room, the light rakes across the wall at a low angle, and there it is: a faint bump or a dull halo where somebody smeared compound over a hole and called it done. The hole is gone, but the repair is louder than the damage ever was, and now it is the first thing your eye finds every time you walk in.
A patch that actually disappears is not harder to do than a bad one. It just follows a different order and respects a few timings that feel slow the first time. I have patched everything from a thumbtack pinhole to the ragged crater a door handle punches when the stop falls off, and the method genuinely changes with the size of the hole. Trying to fix a fist-sized gap with the same trick you use on a nail ding is how people end up with that shadow. So the whole guide below is sorted by hole size, because matching the method to the damage is the single decision that determines whether your wall looks repaired or looks untouched.
Match the method to the hole size
Before you buy anything, put your fingers near the hole and decide which of three groups it falls into. This is the call that saves you from either overworking a tiny ding or under-building a hole that needs real backing.
Small: nail holes, screw holes, and shallow dings up to about the diameter of a pencil. There is no missing structure here, just a divot or a puncture. These take spackle or a dab of compound and almost no skill, and you can often paint the same day.
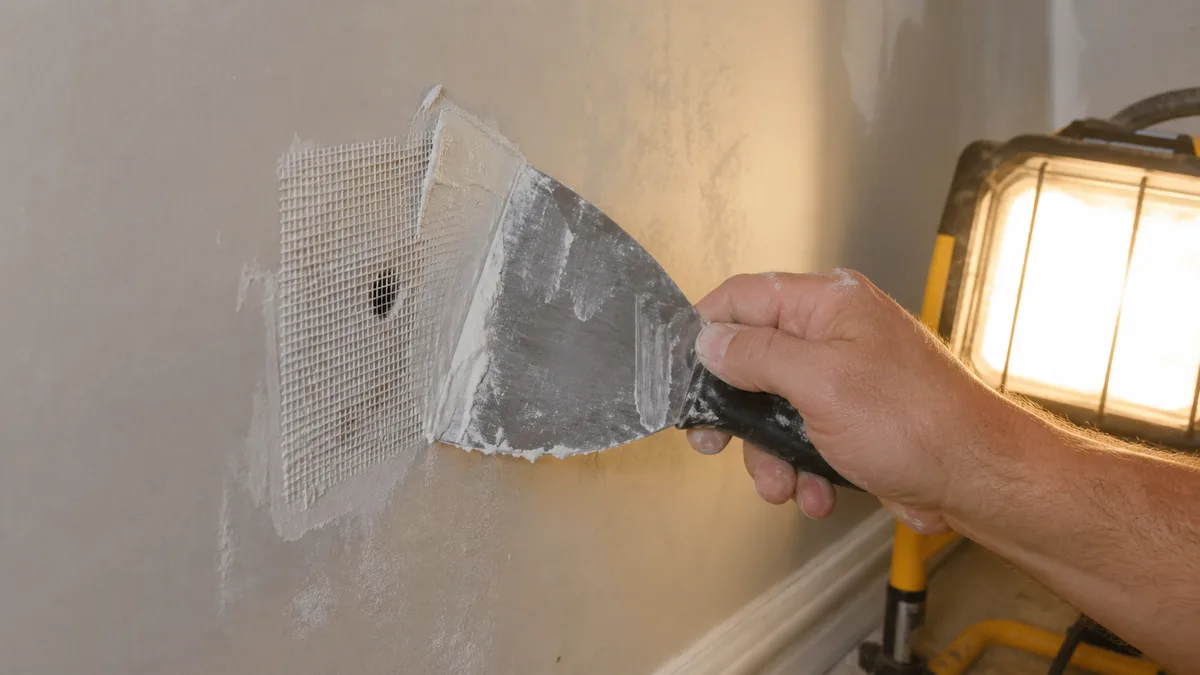
Medium: holes from roughly a half inch up to about two inches, the size a doorknob leaves, or what is left when a wall anchor tears out. The wall face is broken but the hole is small enough that a self-adhesive mesh patch can bridge it. The mesh gives the compound something to grab so it does not just fall into the cavity.
Large: anything bigger than about two and a half inches, up to a chunk you could put a fist through. Mesh alone will sag and crack over an opening this wide because there is nothing solid behind it. These need an actual piece of drywall set into the wall, backed so it sits flush, and taped at the seams like new construction.
The gray zone is right around two to two and a half inches. If a mesh patch flexes when you press it, the hole is too big for mesh and you should treat it as large. It is faster to cut a real patch than to fight a mesh one that keeps cracking.
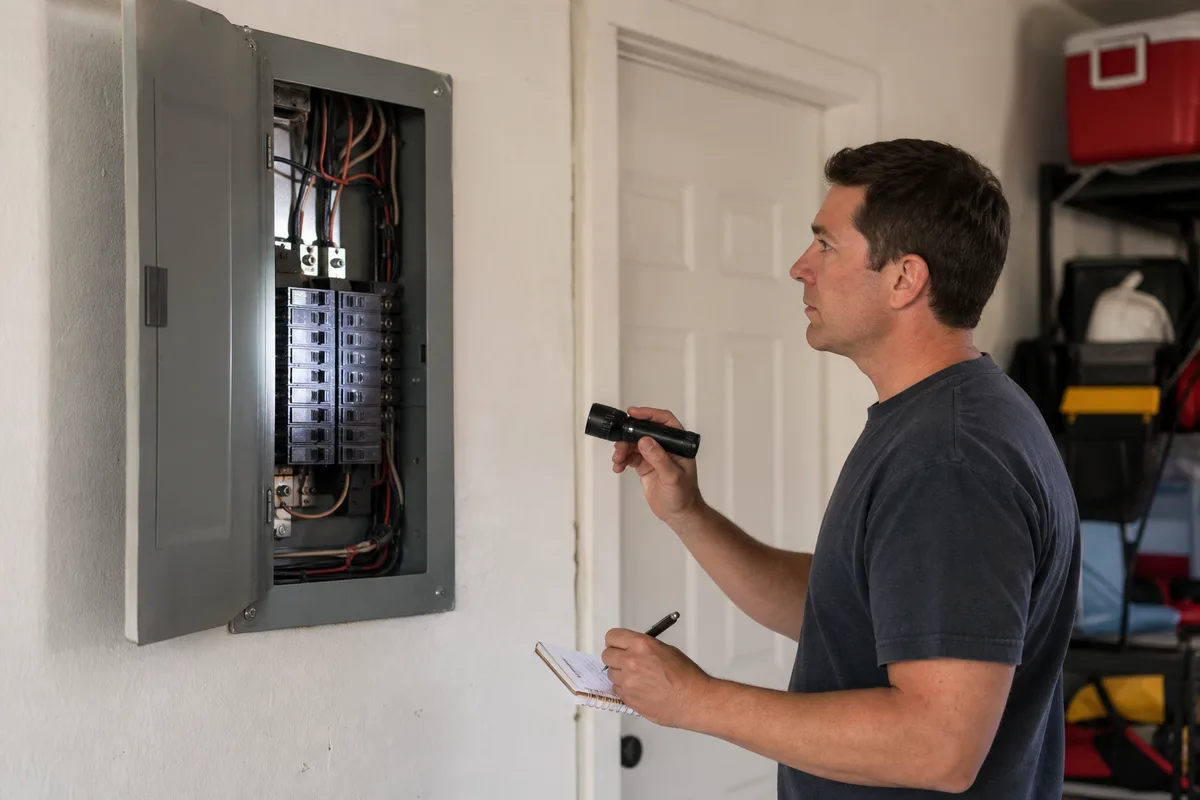
One more thing to check before you commit: what is behind the wall. On an exterior wall, or anywhere you are not certain, holes bigger than a couple inches deserve a look inside with a flashlight before you close them up. You do not want to seal a patch over a wire that got nicked or a pipe that is weeping. This is where it helps to know how the pieces of your house fit together; if that is unfamiliar territory, the overview in how your home's systems work together is worth a read before you cut into a wall you are unsure about.
Tools and materials, with rough cost
You do not need a contractor's kit for this. Here is what actually earns its place, with prices that are typical rather than precise, because they drift.
- Joint compound (the pre-mixed tub, sometimes called mud). A small tub runs a few dollars and does dozens of small patches. For a single nail hole, lightweight spackle in a squeeze tube is even simpler.
- A setting-type compound for large holes, the kind that comes as a powder you mix and that hardens by chemical reaction in a stated time, like 20 or 45 minutes. It shrinks less than regular mud and lets you build a deep patch in one session. Optional but genuinely useful on big repairs.
- Self-adhesive fiberglass mesh tape for medium holes, and paper joint tape for the seams of a large drywall patch. A roll of each is a few dollars and lasts for years.
- Putty knives in two or three widths. A narrow one around 1.5 inches for filling, and a wide one, 6 inches or more, for feathering. The wide knife is the tool most people skip and most need, which is a shame, because it is doing the quiet work of hiding the whole repair.
- A scrap of drywall for large holes. A single sheet is cheap, and offcuts are often free from anyone finishing a basement. Match the thickness to your wall, which is usually half an inch in a modern home.
- Sanding block and sandpaper in the 120 to 220 grit range, or a sanding sponge, which is more forgiving on the feathered edges.
- Primer. Not optional, and I will explain why in its own section below.
- A utility knife, a drywall saw or keyhole saw for large holes, and a pencil.
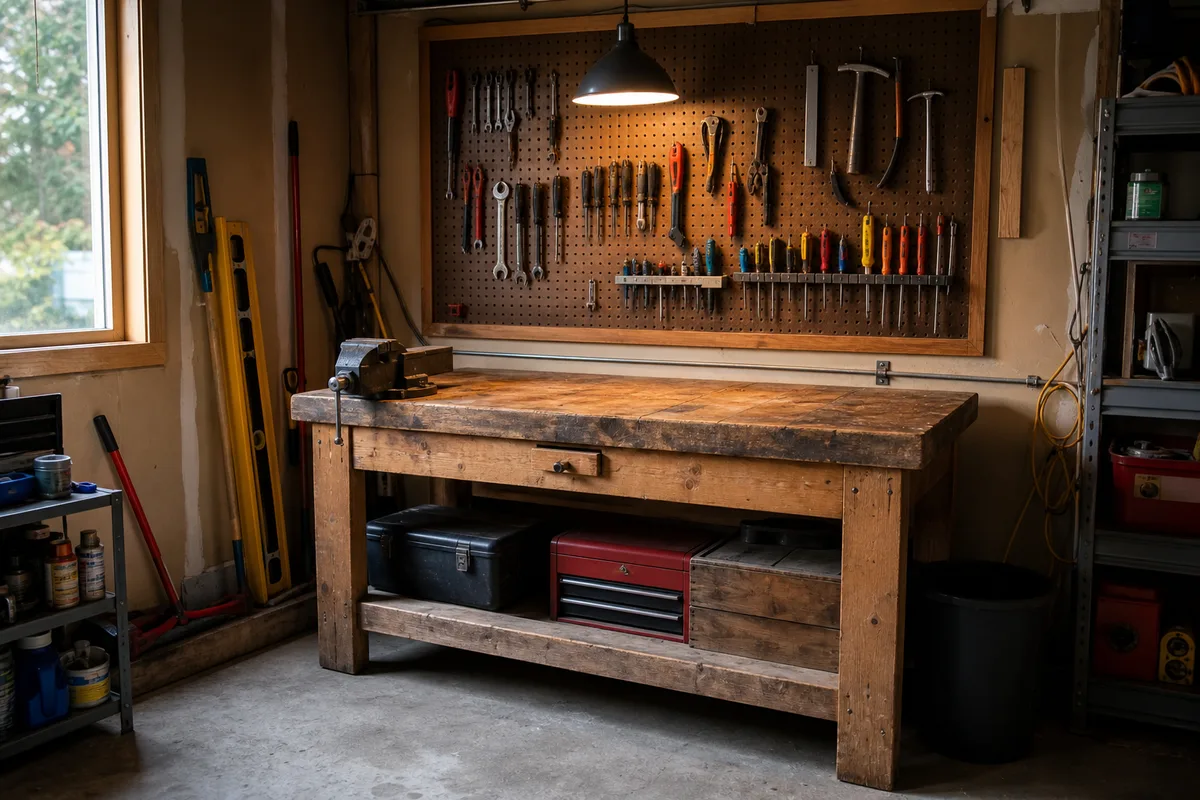
All in, if you are starting from nothing, you can outfit yourself for the price of one handyman visit and have leftovers for the next ten repairs. If you already keep a basic kit, most of this is in it. This job is one of the reasons a stocked repair kit pays off, a point the broader guide to the home repair skills worth learning first makes across a dozen small jobs like this one.
A note on what not to buy: the all-in-one patch kits with a metal-backed sticker work, but they leave a slightly proud lump you have to feather hard to hide, and for the price of one kit you can buy materials for many patches. I reach for mesh and mud instead.
Nail holes and small dings
This is the five-minute repair, and the only way to get it wrong is to overthink it or to skip the last step. It is also the repair most likely to make you feel like a fraud, because it really is that easy.
Start by clearing the hole. A nail or screw pulling out usually leaves a little raised lip or "volcano" of paper around the puncture. Knock that flat. Drag the edge of your putty knife across it, or press it flat with your thumb, so the wall around the hole is level. If you fill over a raised lip, you get a bump no amount of sanding fixes cleanly.
Load a small amount of spackle or compound on the corner of a narrow knife. Hold the knife at a low angle and pull it across the hole in one direction to force material in, then scrape back across at a steeper angle to take off the excess. The goal is for the filler to sit flush with the wall, not mounded over it. Mounding just means more sanding, and sanding is the part nobody enjoys.
Here is the detail that catches people: lightweight spackle shrinks as it dries, so a fill that looked perfectly flush when wet will dry with a tiny dimple. On anything deeper than a shallow ding, plan on a second thin pass once the first is dry. It costs you two minutes and saves you from a divot that shows under paint.
Let it dry, give it a light scuff with fine sandpaper until you cannot feel the edge with your fingertips, and then spot-prime it. Even here, on a hole the size of a nail, skipping primer is why touch-up paint sometimes dries to a slightly different sheen than the wall around it. A quick dab of primer on each filled hole solves it.
If you are patching a row of picture-hanger holes before a move-out, do them all in one pass, come back after they dry for the shrink-fill coat, and prime the lot together. It turns a fussy job into an assembly line.
Medium holes with mesh and compound
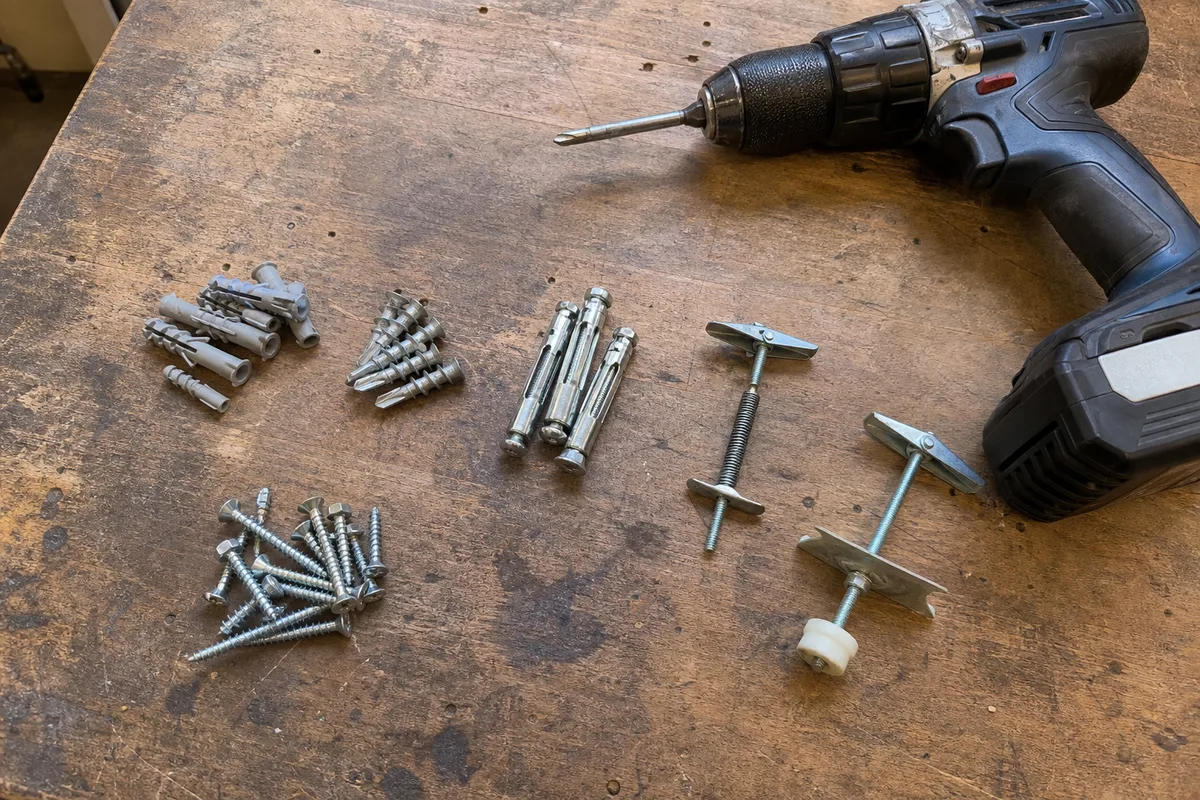
This is the method for a doorknob dent, a torn-out wall anchor, or any broken hole up to roughly two inches. The mesh is what makes it work, because it bridges the opening and gives the compound a structure instead of a void to sag into. If an anchor is what tore the hole, patch it and then rehang the thing on something that will hold, because the same anchor in the same drywall fails the same way; choosing the right wall anchor sorts out which type actually suits the load.
First, clean up the hole. Trim away any loose or crumbling paper and cracked gypsum with a utility knife until you are back to a firm edge. You are not trying to make it bigger, just solid. Press any bowed edges flat. If the paper face is peeling back around the rim, cut it off; loose paper under a patch bubbles later.
Cut a piece of self-adhesive mesh tape large enough to overlap the solid wall by at least an inch on every side, and press it flat over the hole. For a round hole, a couple of overlapping strips in a cross work better than trying to make one square lie flat. Rub it down firmly so it bonds and there are no lifted corners. A lifted corner telegraphs right through the finished patch.
Now the mud, and this is where the coats matter. Load your wider knife and pull a thin coat of compound across the mesh, pressing it into the weave. First coat, keep it thin and just cover the mesh, feathering the edges out onto the wall a little. Do not try to fill and finish in one go. Three thin coats beat one thick one every time, because a heavy coat cracks as it dries and you start over the next day, scraping out a checkered mess and quietly resenting your own impatience. A thin coat over mesh dries in a few hours; then you build.
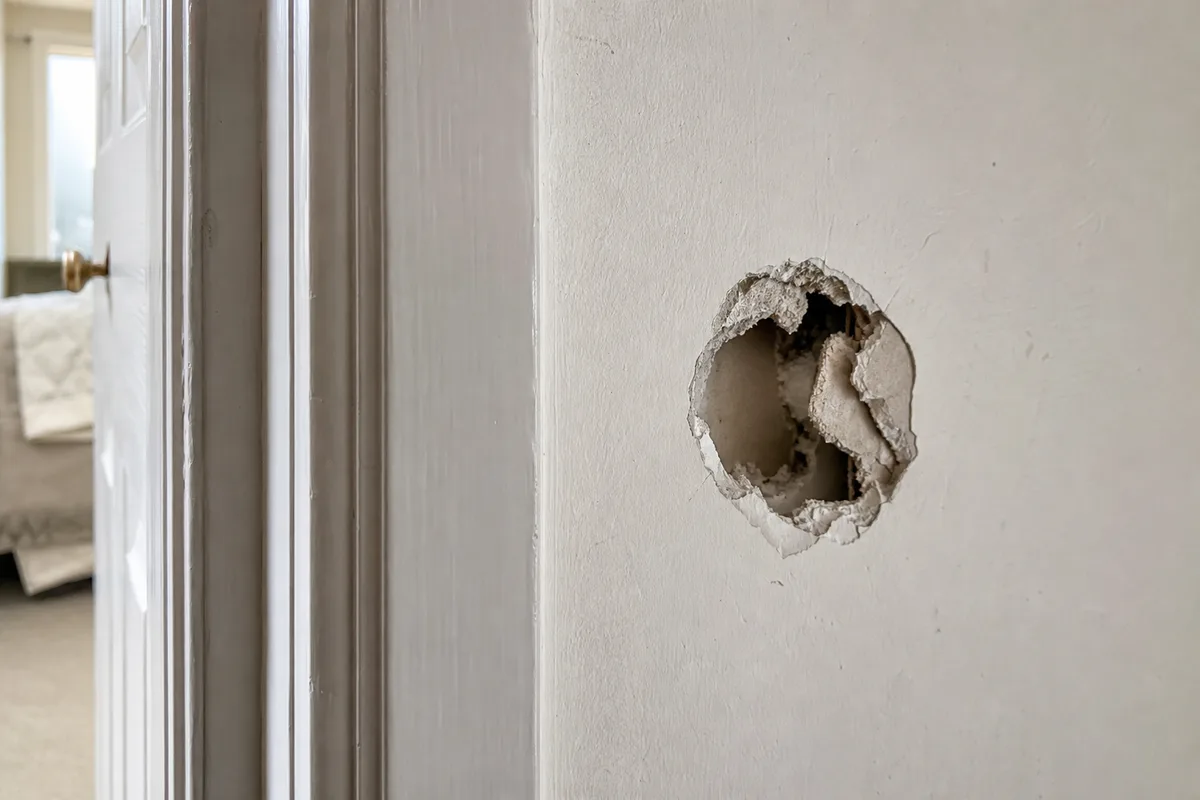 A fist-sized hole in a drywall wall before repair
Second coat goes on after the first is fully dry, wider than the first and a touch heavier, filling the weave of the mesh so it disappears. Third coat is the finish coat: wide, thin, and smooth, blending the whole thing out onto the wall. Between coats, knock off any ridges with the edge of your knife or a quick scuff of sandpaper so you are not building over a bump. By the third coat the mesh should be invisible under the compound and the surface should read as a gentle rise, not a lump.
The mistake I see most on medium holes is stopping the mud too close to the hole. A two-inch hole with a two-and-a-half-inch patch of mud around it will always show, because the transition from patch to wall is too abrupt for paint to hide. Which leads straight into the feathering section, but first the big holes.
Large holes with a drywall patch
Once a hole is bigger than about two and a half inches, mesh has nothing solid to span and you need to put a real piece of drywall in the wall. This sounds like a bigger job than it is. The core idea is simple: make the ragged hole into a clean square, back it so a patch sits flush, drop the patch in, and tape the seams.
Start by squaring the hole. Draw a rectangle around the damage in pencil, staying on solid wall past any cracks. Cut along your lines with a drywall saw or utility knife. Before you cut, though, run that flashlight check for wires and pipes, especially on a wall below outlets or switches, and never saw blindly deep. Cut just through the half-inch of drywall, no deeper.
Now the patch needs backing so it does not push into the cavity. The clean way is a couple of scrap wood strips, a length of 1x2 or even a paint stick for a small square (the free ones from the paint counter finally earning their keep), slipped inside the hole and set behind the wall spanning top to bottom. Hold each strip against the back of the drywall and drive a screw through the wall face into it at each end, sinking the screw head just below the surface. Now you have solid edges to screw your patch into.
Cut your drywall patch to fit the squared hole with a small gap, maybe an eighth of an inch, all around. A patch cut too tight binds and crumbles the edges going in; a small gap gives the tape and mud something to lock into. Set the patch in and screw it to your backing strips, again sinking the heads just below flush without breaking the paper.
You now have a patch sitting in the wall with four seams around it. Those seams get treated like new drywall joints: paper tape bedded in compound. Lay a thin coat of mud along each seam, press paper tape into it, and squeeze out the excess under your knife so the tape is flat with no bubbles. On the two ends where you screwed into the backing, cover the screw heads with a dab of mud too. Let that bed coat dry.
From here, a large patch finishes exactly like a medium one: build thin coats, each wider than the last, over the taped seams. The difference is you are feathering four seams into the wall instead of a single round patch, so the finished repair covers a bigger footprint, often a foot or more across by the time you are done. That is normal and correct. A large patch that is invisible spreads its transition out wide. A large patch you can find with your eyes was feathered too tight.
This method has a real limit worth stating: it works on flat wall and on inside corners with care, but if the damage runs across an outside corner with a metal or plastic corner bead, or into a ceiling seam, the repair gets into taping skills beyond a single patch. This won't work as a quick fix if the hole straddles a corner bead; that is a job where the bead itself has to be cut and replaced, and it is fair to hand that one to a taper.
Sanding and feathering for an invisible repair
Feathering is the whole game, and it is worth slowing down to explain because it is where the shadow either appears or does not.
To feather is to thin the compound out to nothing at the edges so there is no ridge where the patch meets the wall. Your hand wants to keep the mud tight to the hole, right where the damage is. That instinct is exactly backwards. Feather each coat 3 to 4 inches wider than the last, so the first coat is small, the second reaches out past it, and the finish coat blends a wide, shallow skim onto the surrounding wall. The visible-patch look almost always comes from stopping the mud too close to the hole, because the eye reads the abrupt edge, not the fill. Spread the transition out and there is no edge to read.
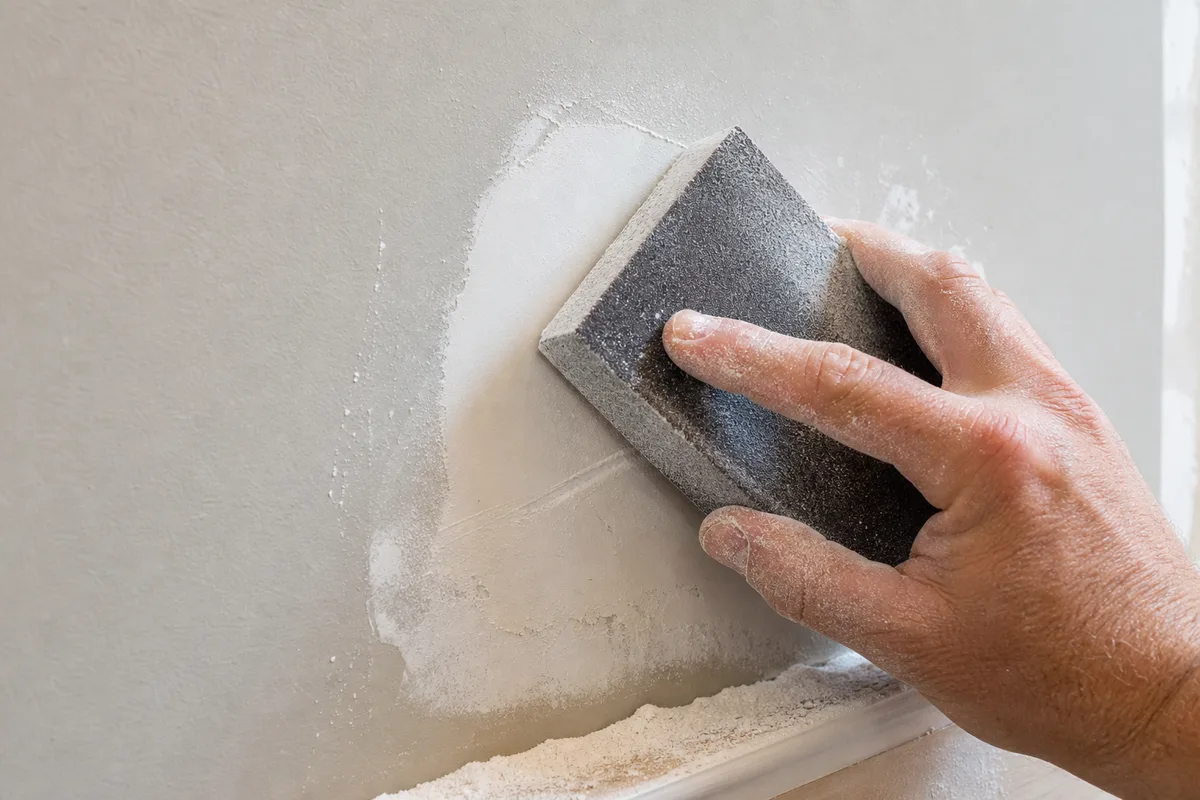 Sanding a dried drywall patch smooth with a sanding block
When the last coat is fully dry, sand. Use a block or a sanding sponge, not just paper in your hand, because a block keeps the surface flat while bare fingers dig little furrows. Work in gentle circles with light pressure, and stop the moment the patch feels level. Your fingertips are a better judge than your eyes here; close them, run them slowly across the patch and off onto the wall, and feel for any lip. If you feel a rise, sand that spot; if you feel a dip, you sanded through and need one more thin skim coat before you go further.
Two practical warnings on sanding. First, do not sand so hard you scuff up the paper face of the surrounding drywall; a fuzzed-up paper edge shows through paint as a rough halo. Feather with the knife well enough and you barely need to sand at all, which is the goal. Second, drywall dust is fine and it drifts everywhere, and it has a gift for finding the one room you were not sanding in, so this is the step to close doors to other rooms and lay something down. A sanding sponge dampened slightly cuts the dust and is gentler on the feathered edges, at the cost of working a little slower.
The test for a finished patch is the low, raking light. Hold a work light or your phone flashlight flat against the wall beside the patch so the beam skims across it. Every ridge and dip throws a shadow you cannot see under normal room light. If it looks flat under raking light, it will vanish under paint. If it does not, one more thin skim and a light sand fixes it, and that extra half hour is the difference between a repair you notice and one you forget is there.
Priming and painting so it doesn't flash
Here is the step people skip, and it is the reason a technically perfect patch still shows: flashing.
Bare joint compound and the surrounding painted wall drink paint completely differently. The dried mud is porous and thirsty; the old painted wall is sealed. Roll color straight over both and the patch soaks up more paint and dries to a duller, flatter sheen than the wall around it. In plain room light you might not catch it, but in the right raking light the patch shows as a dull spot, a ghost of the repair you thought you hid. Prime the patch before painting or it flashes. Primer seals the compound so it takes the finish coat at the same rate as the rest of the wall, and the sheen matches.
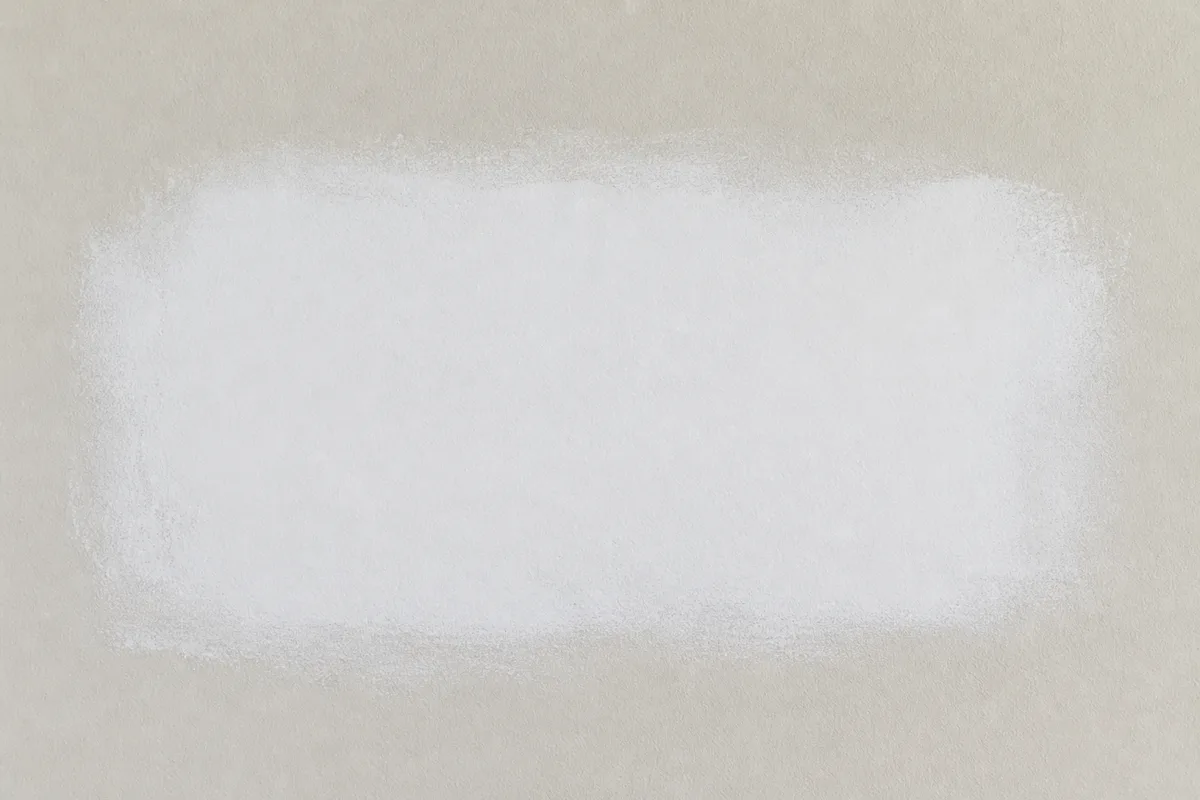 A primed and feathered drywall patch ready for painting
Prime just the patch and a little onto the surrounding wall, feathering the primer edge out the way you feathered the mud. A small brush or a mini foam roller is plenty. Let it dry to the time on the label before you topcoat.
Now the color coat, and the honest truth about matching existing paint: on a wall that has aged, faded, or yellowed even slightly, a spot of the original color rarely blends invisibly, because the wall around it has changed and the fresh paint has not. A spot repair on a wall painted last month usually blends fine. A spot repair on a wall painted five years ago often does not, and the fix is to paint the whole wall, corner to corner, rather than chase a spot that will always read as newer. Paint to the natural breaks, the corners and edges of the wall, so any slight difference lands on a corner where the eye expects a change of plane, not in the middle of a flat field where it stands out.
Use the same sheen as the existing wall if you can identify it. Sheen mismatches, a satin patch on an eggshell wall, show even when the color is dead on, because they catch light differently. When in doubt, a lower sheen hides a patch better than a higher one, since gloss magnifies every imperfection.
The mistakes that make a patch show
Everything above is really a list of ways to avoid the handful of errors that give a patch away. Here they are in one place, so you can run down them before you decide a repair is done.
Stopping the mud too close to the hole. The most common one by far. If your finished mud footprint is barely bigger than the hole, the patch will show. Feather wider than feels necessary.
One thick coat instead of several thin ones. A heavy coat of compound cracks as it dries because it shrinks unevenly, and a cracked coat means scraping it out and restarting. Thin coats dry evenly and build a flat surface. Patience here is faster than a redo.
Skipping primer. The flash is invisible while the paint is wet and shows up an hour later once everything dries to its true sheen. By then you are repainting. Prime first, every time, even on a nail hole.
Sanding instead of feathering. Sanding cannot fix a lump that was built too proud; it just scuffs the paper around it and leaves a rough halo. Get the surface close to flat with the knife and feathering, and sand only to finish, not to shape.
Leaving a lifted mesh corner or a bubble under the tape. Any spot where the tape or mesh is not fully bonded telegraphs through as a crack or ridge later, sometimes months later. Rub mesh down hard and squeeze the excess mud out from under paper tape so it lies flat.
Filling over a raised paper lip or loose edge. On small punctures especially, flatten the volcano of torn paper first. Filling over it builds a bump in.
Rushing the dry time between coats. Mud that is still damp under the surface will sink and crack when you build over it. If it is cool or humid, give it longer than you think. A patch is one of those jobs where the wall does most of the work while you wait, so start it on a day you are not in a hurry.
None of this is difficult, and after two or three patches the order becomes automatic. The skill that separates a clean repair from an obvious one is not strength or a special tool. It is feathering wide, building thin, and priming before you paint. Do those three things and the hole disappears, shadow and all, which is the only outcome that counts.