The most common mistake I see people make when they set up a first workshop is that they buy tools before they have a place to use them. A table saw shows up, then a drill press, then three plastic bins of hardware, and six months later the whole pile has migrated to a corner where nobody can reach anything. The tools are fine. The tools are almost always fine. The space was never planned, so the space lost.
A workshop is not a collection of equipment. It is a small piece of your garage or a spare corner arranged so that starting a job takes two minutes instead of twenty, and cleaning up afterward does not leave the car with nowhere to park. Get that arrangement right with almost no tools, and the tools you add later fall into place. Get it wrong, and no amount of gear fixes it. This article walks through the order I would set one up in today, starting with the floor and the wall, not the wish list.
Start with the zone, not the gear
Before you buy a single thing, stand in the spot you have in mind and figure out how much of it is actually yours. In a shared garage, the honest number is smaller than you think. A single-car bay is roughly 10 feet wide and 20 feet deep, and the car eats most of it. What is usually left for a shop is a strip along the back wall or one side, something like 8 feet wide and 3 to 4 feet deep. That strip is your zone. Plan for that, not for the whole garage, and you will build something that survives contact with real life.
Mark it out on the floor with painter's tape before you commit. Lay a rectangle where the bench will go, walk the path from the door to that rectangle, and open the car door inside the tape to see what it hits. This five-minute exercise catches the two problems that ruin small shops: a bench you cannot walk around, and a work zone the car intrudes on every time it parks. If the taped bench blocks the path to the water heater or the electrical panel, move it now, on the floor, where moving it is free.
The principle underneath all of this is workflow. Think about the sequence of a small project: you grab material, measure and mark it, cut it, join or fasten it, then clean up. A good zone lets those steps happen in a short arc without you crossing the garage between each one. In practice that means the bench, the most-used hand tools, and a trash or offcut bin all sit within one step of each other. The saw and anything that throws dust can live a little farther out, because you visit it in bursts. Arrange the zone so the things you touch every ten minutes are closest, and the things you touch every ten cuts are next, and the things you touch once a session are on the edge.
One more decision belongs here: fixed or foldaway. If the car shares the space, you may need a bench on locking casters that rolls back against the wall, or a fold-down top hinged to the studs. A fixed bench is always better to work on, so choose a rolling or folding setup only if a fixed one genuinely will not fit around the car. Do not give up the solidity of a fixed bench for flexibility you will not actually use. If you can carve out even a 3-foot-deep permanent strip, take it.
Bench height, depth, and why they matter
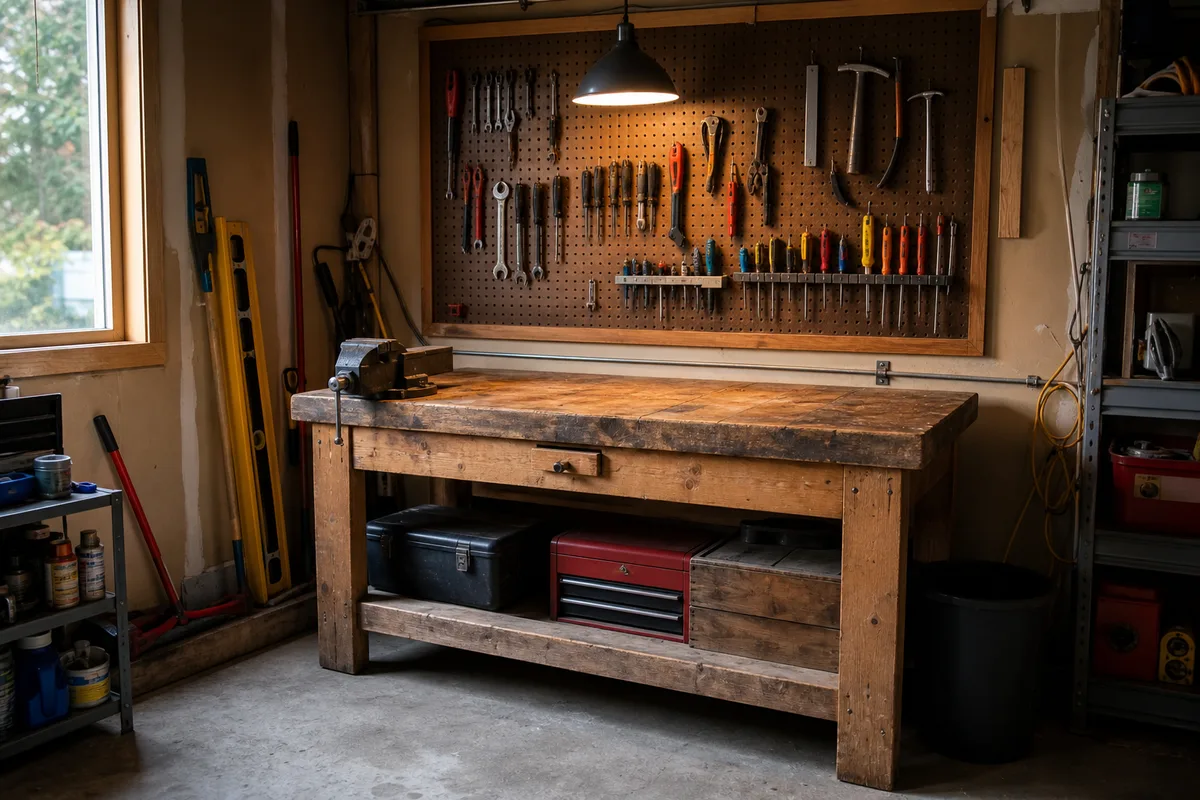
The bench is the one thing worth getting right on the first try, because you build everything else around it and you will spend more hours leaning on it than using any tool. A workbench 34 to 36 inches high suits most standing work for an average-height adult. The mistake I see constantly is copying a kitchen counter, which sits around 36 inches and feels right when you touch it empty-handed, then finding that any job involving force from above leaves you stooped over the work. When you plane, sand, or lean into a hand saw, a bench that is even an inch too tall makes you crane over it, your cuts wander, and you quit the session earlier than you meant to. Lower is usually the safer error than higher.
There is a quick way to check without math, which is welcome, because building a bench twice to correct an inch is a lesson nobody enjoys learning twice. Stand relaxed with your arms hanging straight down and note where your wrist crease falls. A general-purpose bench top set at about that height, or an inch below it, handles most tasks well. If you plan to do a lot of fine assembly or electronics-style work where you sit and look closely at small parts, you want that surface higher, closer to a seated forearm; if you plan to do a lot of heavy planing, go a touch lower so you can put your weight over the tool. You cannot optimize for both, so build for whatever you will do most and accept a compromise on the rest.
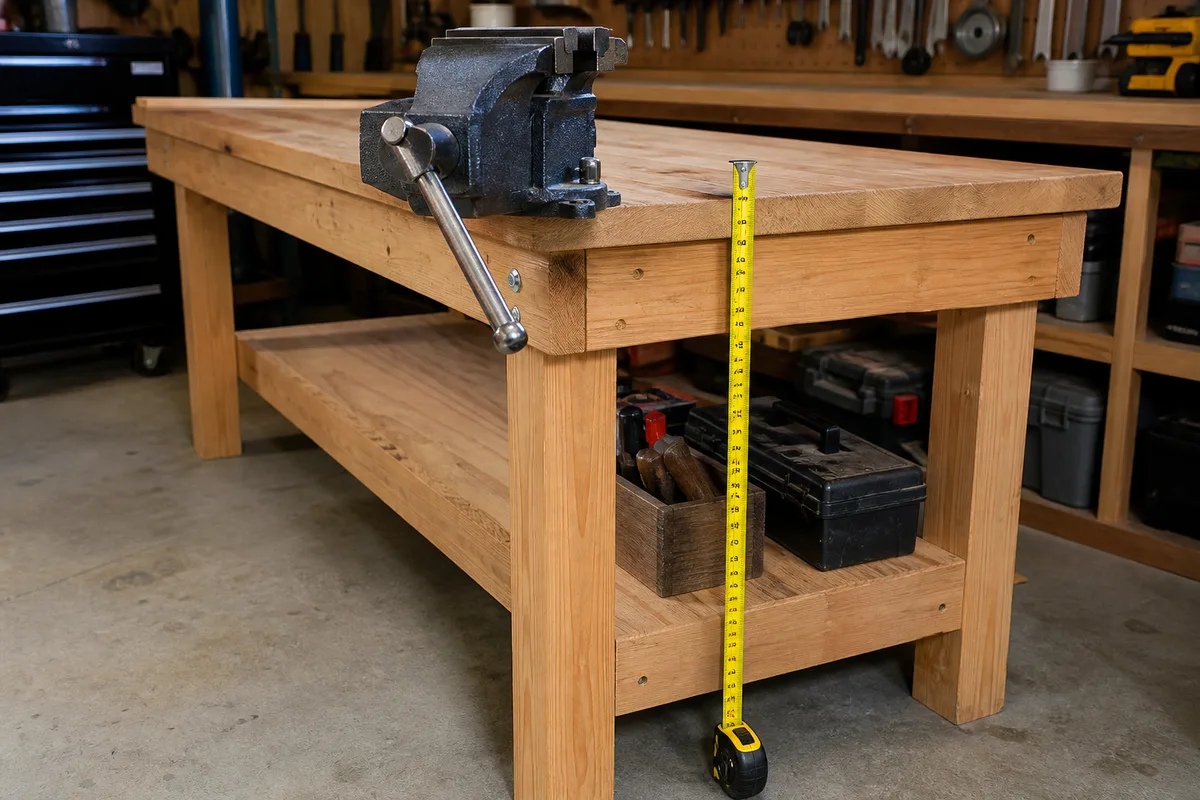 A workbench with a corner-mounted vise in a home shop
Depth matters as much as height and gets ignored. A top between 24 and 30 inches deep is the sweet spot. Shallower than 24 and long boards have nowhere to rest; deeper than 30 in a corner shop and the back 8 inches become a junk shelf you cannot reach across, which quietly steals your working surface. If the bench sits against a wall, screw a shallow ledger or a strip of trim along the back edge so pencils and small parts stop rolling into the gap behind it.
For length, more is better up to the point where it blocks your path, so let the zone decide. A 4-foot bench is workable, a 5- to 6-foot bench is comfortable, and beyond that you are usually trading walking room for surface you do not need in a small shop. Whatever length you pick, the single most important quality is that it does not rack or wobble when you push sideways on it. A bench that shifts when you saw is worse than no bench, because it makes you fight the work. If you are building rather than buying, our guide to building a simple, solid workbench covers the joinery that keeps a top from racking. Add a vise at one front corner as soon as you can; even a modest one turns the bench from a table into a tool by holding the work so both your hands are free.
Storage that keeps tools visible
The single change that removes the most friction in a small shop costs less than most people spend on a mediocre drill. A sheet of pegboard runs under 25 dollars, and hanging your ten most-used hand tools on a wall where you can see all of them does more for how the shop feels than any one power tool. The reason is simple: a tool you can see is a tool you will use, and a tool buried in a drawer is one you will walk past and improvise around. Visibility is the whole game in a small space.
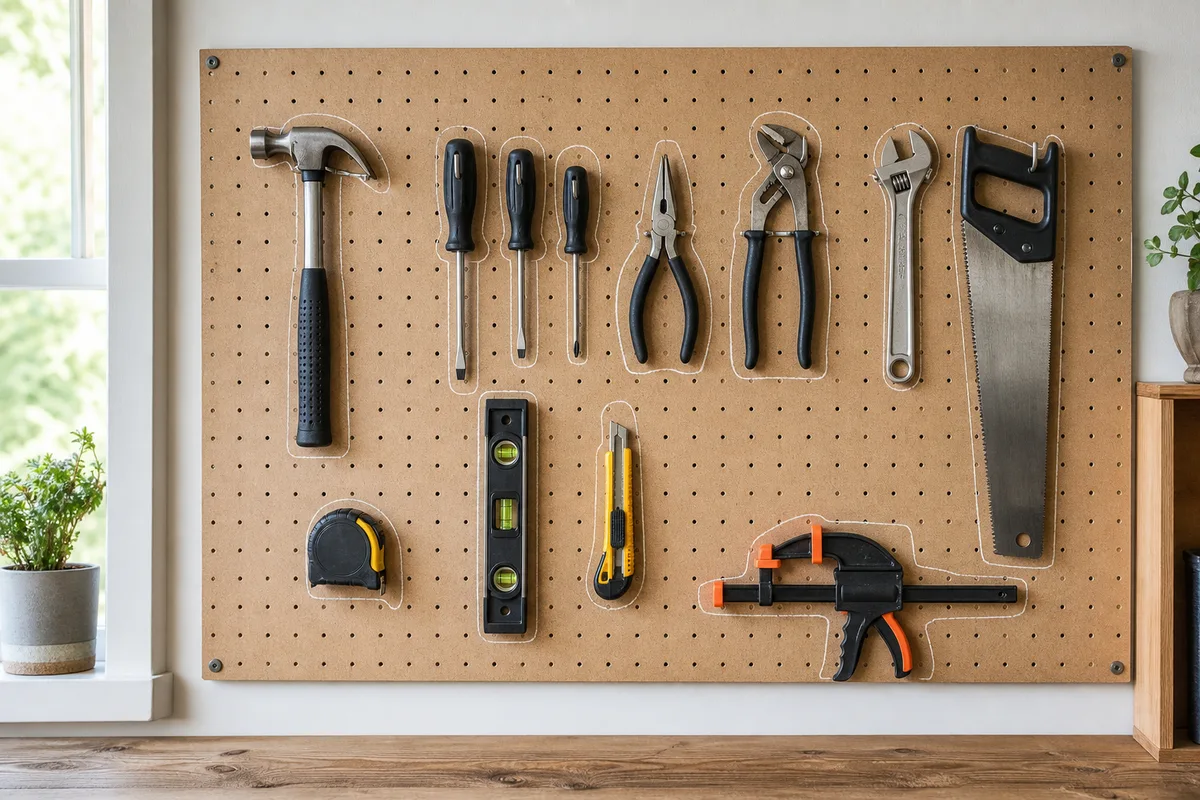 A pegboard organized with hand tools in a home workshop
Mount the pegboard so the tools land within arm's reach of the bench, not across the room. Standard hardboard pegboard needs about a half-inch gap behind it so the hooks can seat, so use the furring strips or spacers that come with it, or make your own from scrap; screwed flat to the wall, the hooks have nowhere to hook. Once it is up, trace each tool's outline with a marker before you hang it. That outline is not decoration. It tells you at a glance which tool is missing mid-project, and it tells whoever borrowed your tape measure exactly where it goes back. Ten minutes with a marker saves you the recurring two-minute hunt that a small shop otherwise generates all day.
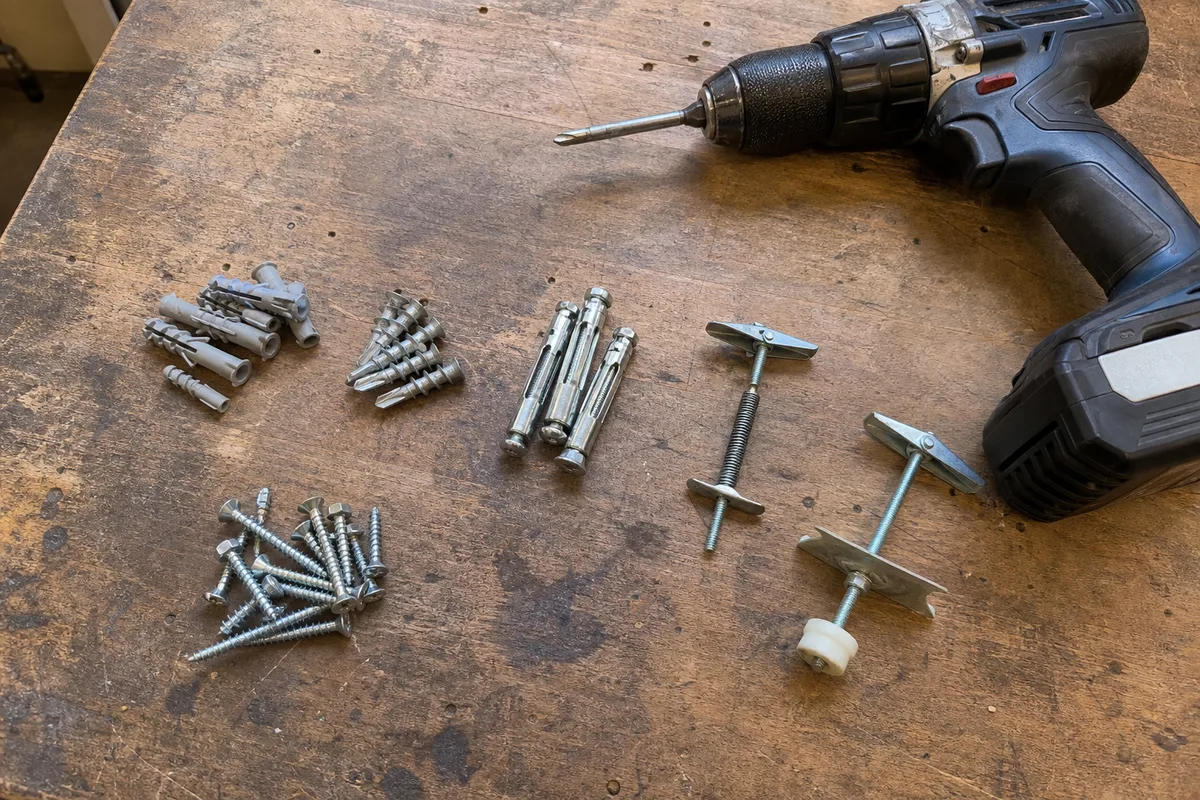
Not everything belongs on the wall. Sort your storage by frequency and size, the same logic as the zone. The tools you reach for every session go on the pegboard at eye level. Consumables and hardware go in labeled containers below the bench, and here the trick is small and clear over big and opaque. A dozen screws in a see-through container you can grab beats a giant bin of mixed fasteners you have to dig through every time, elbow deep, hunting for the one size that turns out not to be in there. Heavy, infrequent items live on a low shelf or the floor, because lifting a bench-top planer down from a high shelf is how tools get dropped and how you decide to stop using them.
Resist the urge to buy a wall of matching cabinets on day one. Cabinets hide tools, which is exactly the opposite of what a small shop needs, and they cost real money that is better spent elsewhere for now. Start with open, visible storage. Add a closed cabinet only for the specific things that need protection from dust or that you genuinely do not want on display, like finishes or a few valuable measuring tools. For the broader question of which hand tools even earn a spot on that pegboard, our piece on building a starter tool kit walks through the short list worth owning first.
Lighting and power for a corner shop
Most garages are lit by a single bulb in the center of the ceiling, which means when you stand at a bench along the wall, your own body throws a shadow directly onto the work in front of you. You will not notice how much this hurts until you fix it. Good light is not a luxury in a shop; it is the difference between a straight cut and a wandering one, because you cannot follow a line you cannot see.
Fix it in two layers. First, ambient light overhead so the whole zone is bright, and a 4-foot LED shop fixture or two mounted above and slightly in front of the bench does this cheaply and runs cool. Mount them forward of where you stand so the light comes over your shoulder onto the work, not from behind your back where you block it. Second, and just as important, task light right at the bench. A clamp-on work light you can grab and aim into the exact spot you are working, angled low and across the surface, reveals pencil marks, blade lines, and surface flaws that flat overhead light washes out. Raking the light sideways across a board is how you actually see whether a joint is flush.
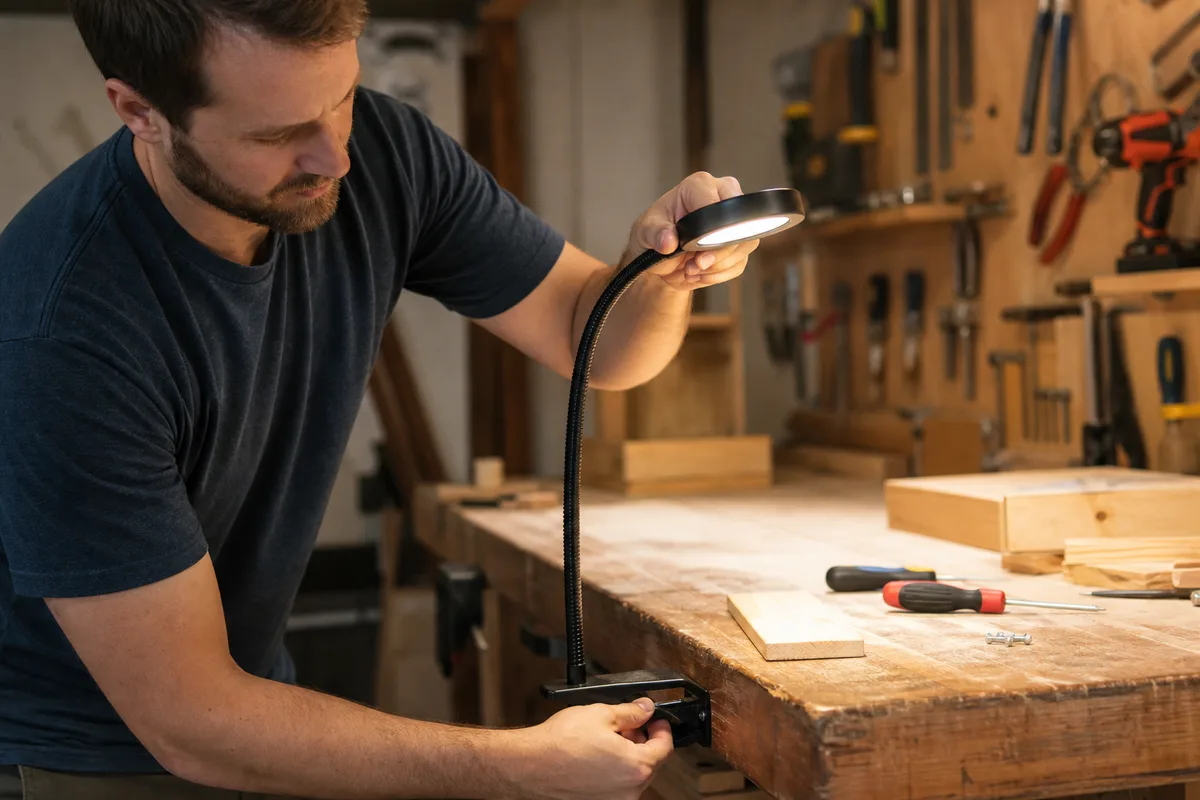 Setting up task lighting over a workbench
Power is the other half, and it is where small shops quietly waste your time. The hidden time-sink is not any tool; it is hunting for a free outlet in the middle of a cut, unplugging the light to plug in the sander, then unplugging the sander to plug in the vacuum, then wondering where the last ten minutes went. The fix is to dedicate one heavy-duty outlet strip to the bench and never unplug it. Mount it to the bench frame or the wall behind, keep the light and your two most-used tools always plugged into it, and leave one or two sockets permanently open for whatever tool the current job needs. Once you stop shuffling plugs, the shop feels twice as fast.
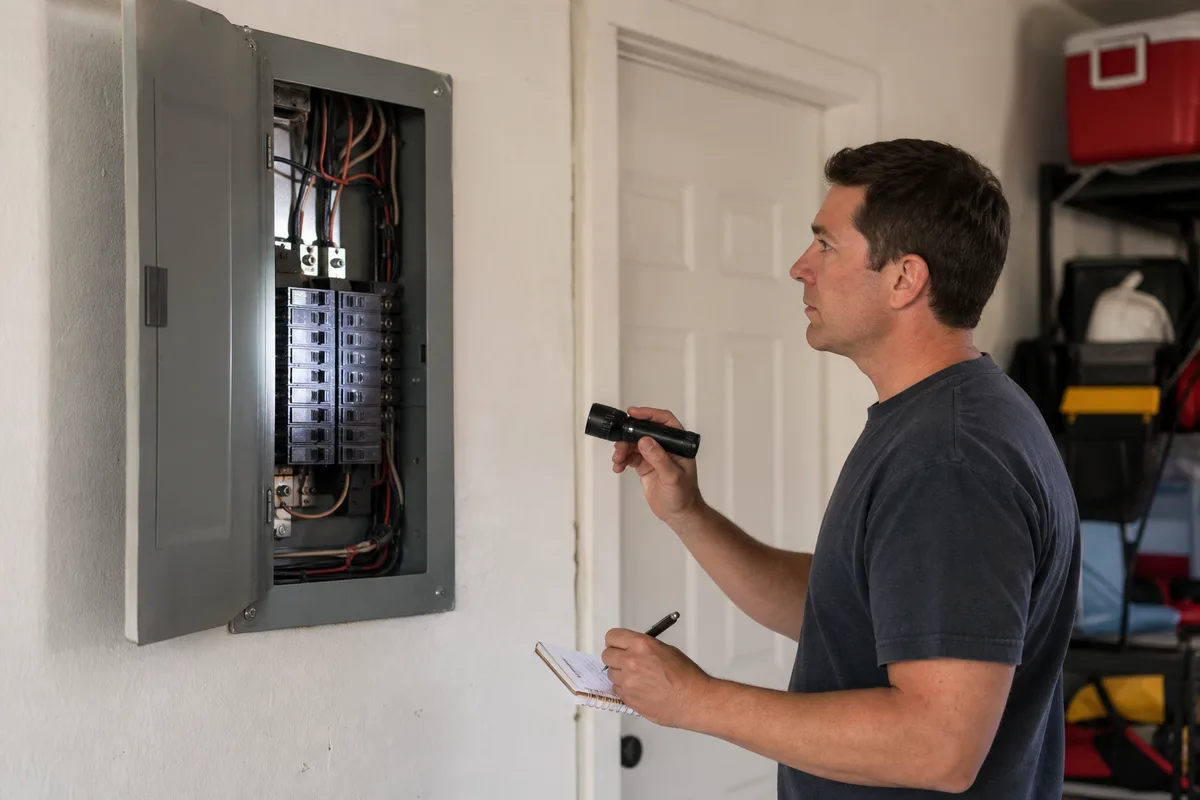
A few honest limits here. A single household circuit, usually 15 or 20 amps, can only carry so much, and running a shop vac and a high-draw saw on the same circuit will trip the breaker. If that happens repeatedly, put the vacuum on a different circuit or a different outlet rather than fighting it. Avoid chaining multiple power strips together to reach farther; run one properly rated extension to the strip instead. And if your garage genuinely has one outlet 15 feet from where you want to work, adding a dedicated circuit is real electrical work with real code requirements, and that is the point where I would call a licensed electrician rather than improvise. Knowing where DIY stops is covered more fully in our overview of essential home repair skills, which is a good map of what to learn yourself and what to hand off.
The order to buy tools as needs appear
Here is where most guides steer you wrong, handing you a shopping list of a dozen power tools to buy before you have built anything. Do the opposite. Buy tools in the order that real projects demand them, and let each purchase be a response to a job you are actually doing. This keeps your money in the space and the bench, which pay off on every project, instead of in machines that sit idle.
Start with measuring and marking, because you cannot do anything well without it and it costs little. A 25-foot tape measure, a combination square, a marking pencil, and a decent utility knife will carry you through more work than any power tool. Then add fastening: a good cordless drill and a driver, or a single drill you swap bits in, plus a basic bit and driver set. That combination alone handles hanging, assembling, and repairing a huge share of household jobs. Add a hand saw and a set of clamps next. Clamps are the tool people always under-buy; you can never have too many, and the day you need to glue up a panel you will wish you had four more. A rough rule I have found true: however many clamps you think a job needs, add two.
Only after those basics earn their keep should you consider the first stationary power tool, and which one depends entirely on what you keep finding yourself unable to do. If you keep needing straight, repeatable cuts in sheet goods, that points one direction. If you keep needing to cut boards to precise lengths for trim or framing, that points another. Let the recurring frustration name the tool. A machine bought to solve a problem you actually hit gets used; a machine bought because a list said to owns a corner of your bench and collects dust.
Two cautions on the buying itself. First, secondhand is often the smart move for heavy, simple tools like vises, hand planes, and clamps, which were frequently built better decades ago and do not wear out. Save the new-tool budget for things where a fresh battery platform or current safety features matter. Second, batteries lock you in, so if you are buying cordless, pick one battery system and stay in it, because owning three chargers and three incompatible battery packs is its own special frustration. The goal is not the biggest collection. It is the smallest collection that does what your projects actually need, added one job at a time.
Dust and cleanup in a shared garage
In a shared garage, dust is not just a nuisance; it is the thing that gets your shop shut down. Sawdust on the car, on the bikes, on the freezer lid, is what turns a supportive household into an unsupportive one, and it drifts a lot farther than you expect. Cutting and sanding throw fine dust that hangs in the air and settles over the whole bay, so cleanup planning is part of setting up the shop, not an afterthought.
The first line of defense is capture at the source. Connecting a shop vacuum directly to the dust port on a sander or saw catches the bulk of it before it ever reaches the air, and it is dramatically more effective than sweeping up afterward. Not every tool has a usable port, and the fit is often awkward, so keep a few adapter fittings and a roll of tape on hand to make the connection work. Where you cannot capture at the source, contain the zone: a cheap drop cloth or a plastic curtain hung on a wire between the shop strip and the parked car keeps the worst of the drift off everything on the other side. It looks makeshift because it is, and it works.
The habit that keeps the peace is cleaning up at the end of every session, not at the end of every project. A five-minute sweep and wipe-down while the shop is still in your head is easy; a month of accumulated mess is a chore you will avoid, and while you avoid it the shop is unusable. Keep a broom and a dustpan hung right in the zone so cleanup does not require a trip across the garage to find them. Give yourself a lidded bin or a bag for offcuts and a separate one for actual trash, because a pile of scrap wood grows fast and, left loose, spreads into the walking path you worked to keep clear.
Two honest limits. A shop vacuum handles chips and coarse dust well, but the finest airborne dust from a lot of sanding is too small for a basic vacuum filter to hold, and it passes right through. For occasional projects that is a tolerable trade; if you find yourself sanding for hours regularly, that is a sign the space needs more serious air handling than a corner setup provides. And a garage floor is usually the lowest, coldest surface in the house, so store anything moisture-sensitive up off the concrete on a shelf rather than in a box on the floor, where it will draw damp.
Small-space compromises that still work
A corner shop is a series of trades, and the goal is not to pretend the space is bigger than it is. It is to make trades that keep the shop usable instead of ones that quietly kill it. The good compromises share a trait: they give up capacity you rarely need to protect the workflow you use every time.
Vertical space is your best friend when the floor is spoken for. When you cannot go wider, go up. Store long boards on a pair of simple brackets high on the wall, hang clamps on a rail, and put the pegboard to work so the bench top stays clear. A clear bench is worth more in a small shop than an extra cabinet, because the moment the bench becomes a shelf, you have no place to work and every job starts with clearing a pile. A flat surface in a garage attracts clutter the way a flat surface anywhere does, which is to say relentlessly, and the bench top is the one you cannot afford to lose. Guard the horizontal surface the way you guard the walking path.
Mobility is the other honest compromise. A rolling bench or a fold-down top is a real concession, since a fixed bench is always more solid, but a bench you can roll against the wall to park the car is far better than no bench at all. If you go this route, spend on good locking casters, because a bench that creeps while you work undoes the whole point. The judgment call is this: accept mobility when the alternative is no shop, and refuse it when you could have had a fixed bench by giving up a little storage instead. Solidity where your hands do the work, flexibility only where the car forces it.
Finally, know the compromises that do not work, so you do not waste money learning them the hard way. A bench too small to hold the work steady is not a small bench; it is a bad one, and you will fight it on every project. A shop so crammed that you cannot reach a tool without moving three others will not get used, because friction wins. And skimping on the two things that pay off every single time, a solid bench and enough light to see the line, to afford a machine you use twice a year, is the worst trade in the shop. Spend on the surface and the light first. A modest corner with a rock-steady bench, tools you can see, and a strip you can clean in five minutes will out-produce a garage full of equipment you have to dig through every time. The space is the tool. Build that first, and everything else has somewhere to go.