Almost nobody who has a shelf come off the wall did the math wrong on weight. The shelf held eleven pounds of books for two years, then somebody set a coffee cup on the outer edge and the whole thing came down with two plastic anchors still clamped to the screws and a pair of cone-shaped craters in the drywall. The load never changed much. What changed was the direction the anchors were being pulled.
That is the part the packaging does not explain. Anchor ratings are printed as a single pound number, which invites you to compare that number to the weight of your object and stop thinking. But drywall is a half-inch-thick sheet of compressed gypsum with paper on both faces, and it fails in a very specific way: the anchor levers backward, crushes the soft core behind the paper, and pops out in a cone. Understanding that failure is worth more than memorizing every anchor on the rack, because it tells you which anchors are actually different from each other and which ones are the same thing in different packaging.
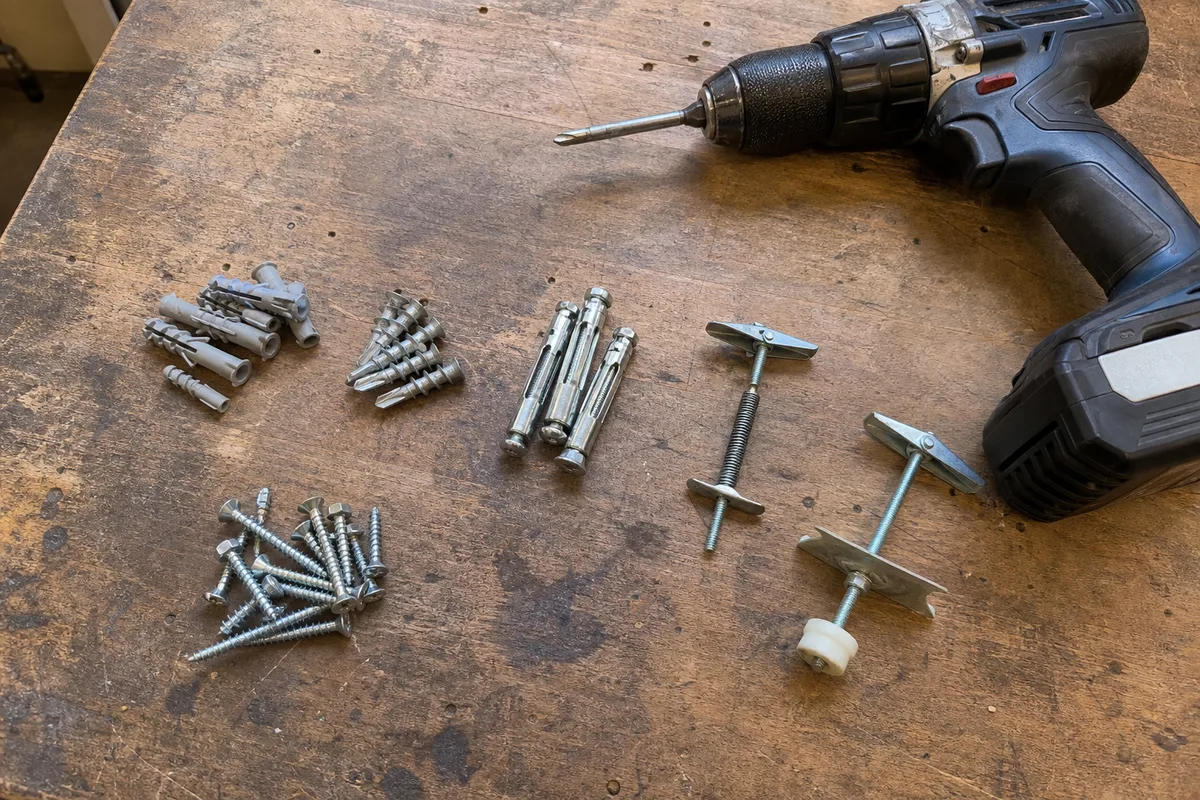 An assortment of wall anchors, screws, and a drill laid out on a workbench
This is one of the five core skills in our guide to essential home repair skills, and it is the one people most often get wrong while doing everything else right.
Shear and pull-out are two different problems
Every mounted object loads the wall in two directions at once, and the ratio between them decides everything.
Shear is the straight-down load, the object's weight trying to slide the screw down the face of the wall. Drywall handles shear reasonably well. The screw is bearing against half an inch of gypsum along its whole shank, and it takes a real load to tear a slot downward.
Pull-out, also called tension, is the load trying to pull the anchor straight out of the wall, perpendicular to the surface. This is where drywall is weak, and it is where nearly every failure happens.
Here is the part that catches people. An object that hangs flat against the wall, like a picture, is almost pure shear. An object that sticks out from the wall converts its weight into pull-out force through leverage, and the further it sticks out, the more it converts. A shelf bracket that projects 10 inches with the load sitting near the outer edge is prying the top screw away from the wall with several times the force you would guess from the weight alone. The bottom of the bracket pushes into the wall and acts as a pivot; the top screw takes the tension.
So the practical rule is not "how heavy is it" but "how far from the wall does the weight sit, and how tall is the mount". A 15-pound floating shelf that projects 10 inches is a harder mounting problem than a 40-pound mirror that hangs flat with a wire. Anyone who has hung both will tell you the shelf is what comes down.
This also explains the coffee cup. Setting a cup on the outer edge of a shelf adds a pound of weight but adds it at the point of maximum leverage, which can be the increment that finally exceeds what two plastic anchors were holding by.
Find the stud first, every time
Before you choose an anchor, spend two minutes deciding whether you need one at all. A #10 or #12 wood screw driven at least 1 inch into the center of a stud is stronger than any drywall anchor made, costs a few cents, and cannot fail by the cone mechanism because it is not relying on drywall for anything.
In most US houses framing is spaced 16 inches on center, measured from stud center to stud center. Some newer construction and some garage or non-load-bearing walls run 24 inches on center. Once you find one stud, the rest of the wall is predictable: measure 16 inches over and check again.
Ways to find them, roughly in order of reliability:
Electrical boxes. Outlet and switch boxes are nailed to the side of a stud. Look at the box, decide which side the stud is on, and you have a starting point without any tools. This is the single most useful trick and it works in almost every room.
A stud finder, used correctly. Calibrate it on a blank section of wall, sweep slowly, and mark both edges of what it reports. A real stud reads as a band about 1.5 inches wide, because that is the actual face width of a modern 2x4. If your finder gives you a band 4 inches wide or a reading that never ends, it is picking up something else: a pipe, a wire, or a seam where two drywall sheets meet over a stud.
Knocking. Drywall over a cavity has a hollow, higher-pitched sound. Over a stud it goes dull and tight. This is less precise than it sounds in articles, but it is a good confirmation of a stud finder reading rather than a primary method.
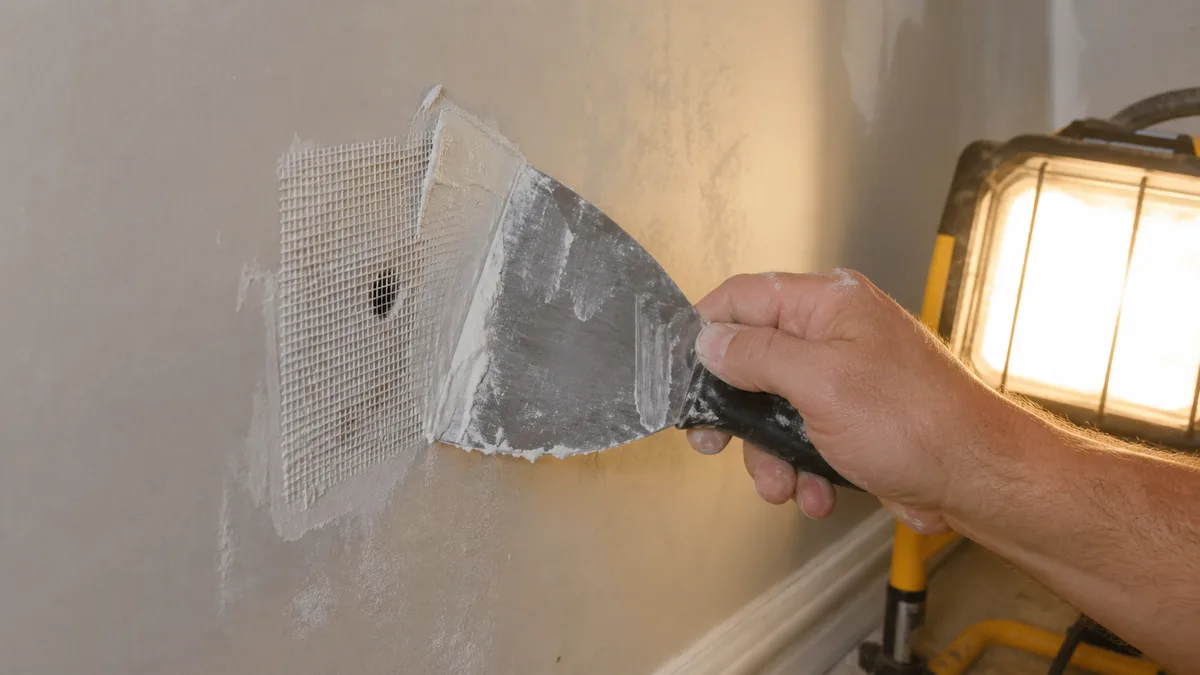
A small test hole. If the mount will cover it, drill a 1/16-inch hole and probe with a stiff wire. This is the only method that gives certainty, and the hole takes thirty seconds to fill later. Our guide to patching a drywall hole covers pinholes in the first section if you end up off target.
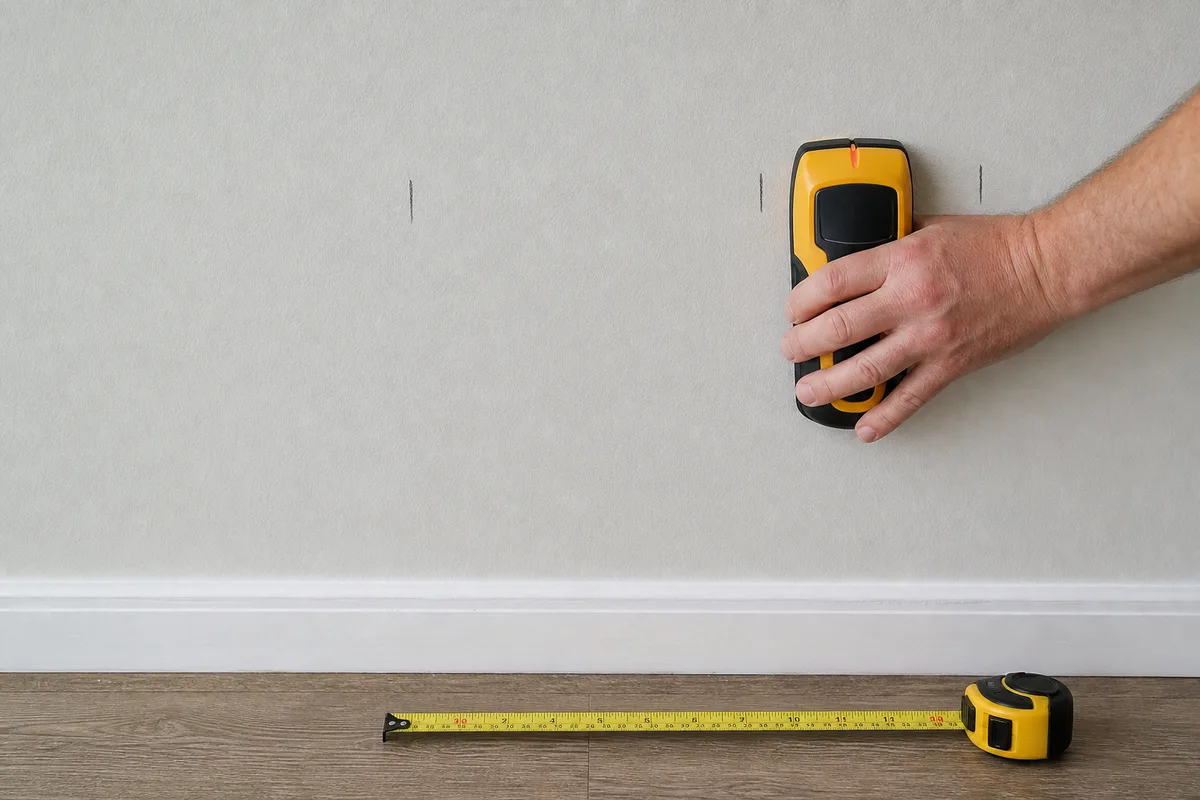 A stud finder and pencil marks on a painted wall showing stud positions
Stud finders read baseboards, tile, and plaster poorly, and they get confused near anything metal. If a reading feels wrong it probably is. Confirm before you commit to a 1/2-inch hole.
For anything genuinely heavy, studs are not a preference, they are the requirement. Wall cabinets, TV mounts, handrails, and anything a person might grab or hang from go into framing. No drywall anchor is appropriate for those, regardless of the number on the box.
What bare drywall holds, which is almost nothing
A screw driven into drywall with no anchor at all has very little to grip. The gypsum core crumbles under the threads and the screw spins loose, often within days as the mount shifts. Bare drywall screws are for holding drywall to studs, not for holding objects to drywall.
This is worth stating plainly because a surprising number of small failures start with somebody thinking a short job does not need the anchor. It does. Even a lightweight hook that gets tugged sideways will strip out.
The anchor types, weakest to strongest
The rack at the store carries maybe a dozen products that fall into five real categories. Once you can sort them, the choice is quick.
Plastic expansion plugs (the ribbed cone)
The small tapered plastic sleeve you tap into a pre-drilled hole, then drive a screw into. The sleeve spreads against the sides of the hole.
These work by friction against the hole wall, and in half-inch drywall there is only half an inch of hole to grip. They are genuinely fine for very light, flat-hanging items: a small picture, a smoke detector, a cable clip. They are the wrong choice for anything with projection, and they are the anchor most often found still gripping the screw at the bottom of a failed shelf.
They also have a specific failure while installing: if the hole is drilled a size too large, the plug spins in place as you drive the screw and never expands. If that happens, do not force it. Pull it, move over 2 inches, and start again in fresh drywall.
Self-drilling threaded anchors
The chunky nylon or zinc anchors with coarse external threads and a pointed tip, driven in with a screwdriver without a pilot hole. Common brand styles look like a fat screw with a hollow center.
These are a real improvement because the coarse thread engages a wide diameter of gypsum rather than a narrow hole wall. They go in fast, they hold moderate flat loads well, and they are the sensible default for things like a towel bar, a small mirror, or a curtain bracket where you could not find a stud.
Their limitation is that they still rely entirely on the gypsum around them, so they fail by the same cone mechanism under pull-out, just at a higher load. And they have one installation trap worth knowing: they are easy to overtighten. Once the thread strips the gypsum, the anchor spins freely and is finished. Drive them until the flange sits flush against the wall and stop there. If you are using a drill rather than a hand driver, set the clutch low.
The zinc versions hold noticeably better than the nylon ones and cost very little more.
Molly bolts (sleeve-type hollow wall anchors)
A metal sleeve with a screw through it. As you tighten the screw, the sleeve collapses into a set of legs that spread out flat against the back face of the drywall.
This is a genuine step up, because the load is now carried by metal legs bearing on the back of the sheet rather than by threads in crumbly gypsum. The sheet is being clamped rather than gripped.
Two practical notes. First, mollies are effectively permanent: once the sleeve deforms it stays in the wall, and removing it means pushing it into the cavity or cutting it out. Second, the screw can be removed and reinserted freely once the sleeve is set, which makes them good for anything you might take down and rehang, like a mounting plate.
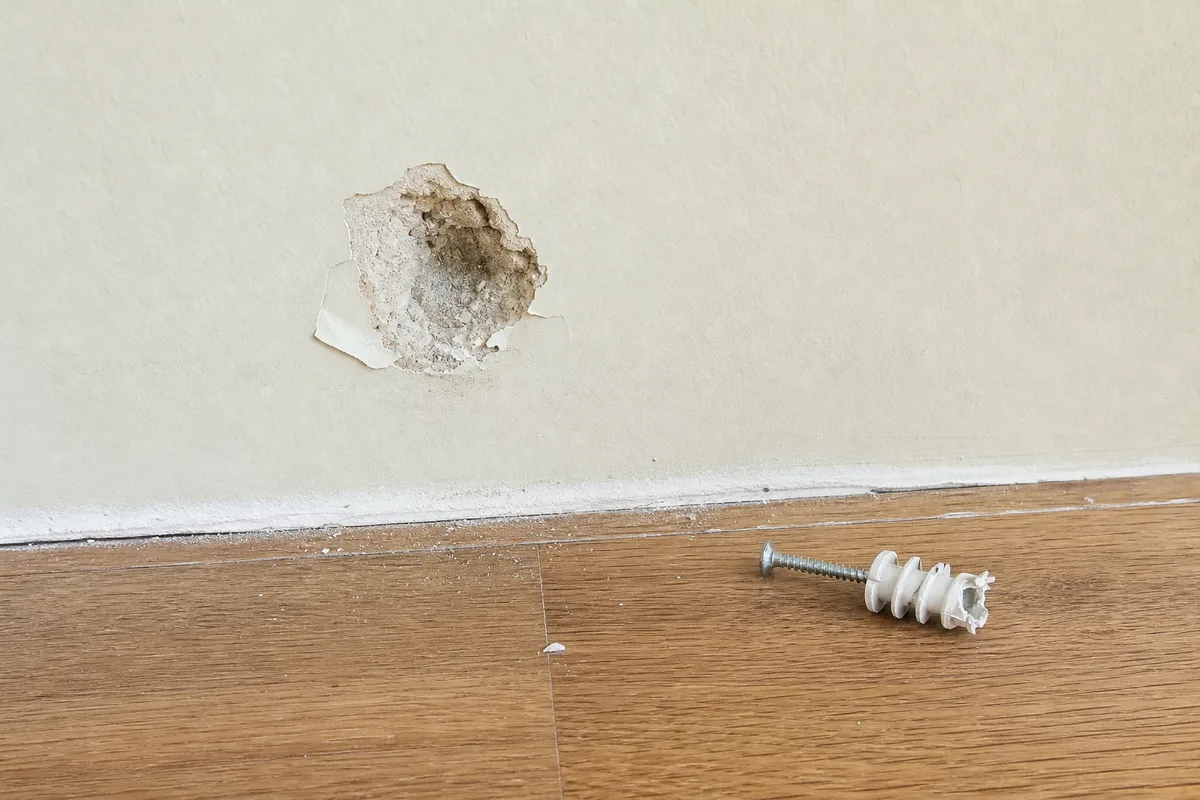 A failed plastic anchor pulled out of drywall leaving a cone-shaped hole
Toggle bolts (spring wings)
A machine screw with a spring-loaded pair of wings that fold flat to pass through the hole and snap open in the cavity behind.
Toggles carry more load than anything above them because the wings bear on a wide area of the drywall's back face. They are the traditional answer for heavier hollow-wall mounting.
The drawbacks are real, though. They need a large hole, often 1/2 inch or more, to pass the folded wings. The wings are captive on the screw, so if you ever remove the screw the toggle drops into the wall cavity and is gone. And you have to hold tension on the bolt while tightening, or the wings just spin instead of drawing up tight.
Strap toggles
The modern version, sold under a few brand names, with a metal channel on a pair of plastic straps. You push the channel through the hole, pull the straps to seat the channel flat against the back of the drywall, snap off the straps, and then drive a machine screw into the channel.
These solve the toggle's worst problem: the channel stays in place when the screw comes out, so the mount is removable and reusable. They need a hole around 1/2 inch, they seat quickly once you have done a couple, and they hold the highest loads of any hollow-wall option.
For anything moderately heavy that genuinely cannot reach a stud, this is the one to buy.
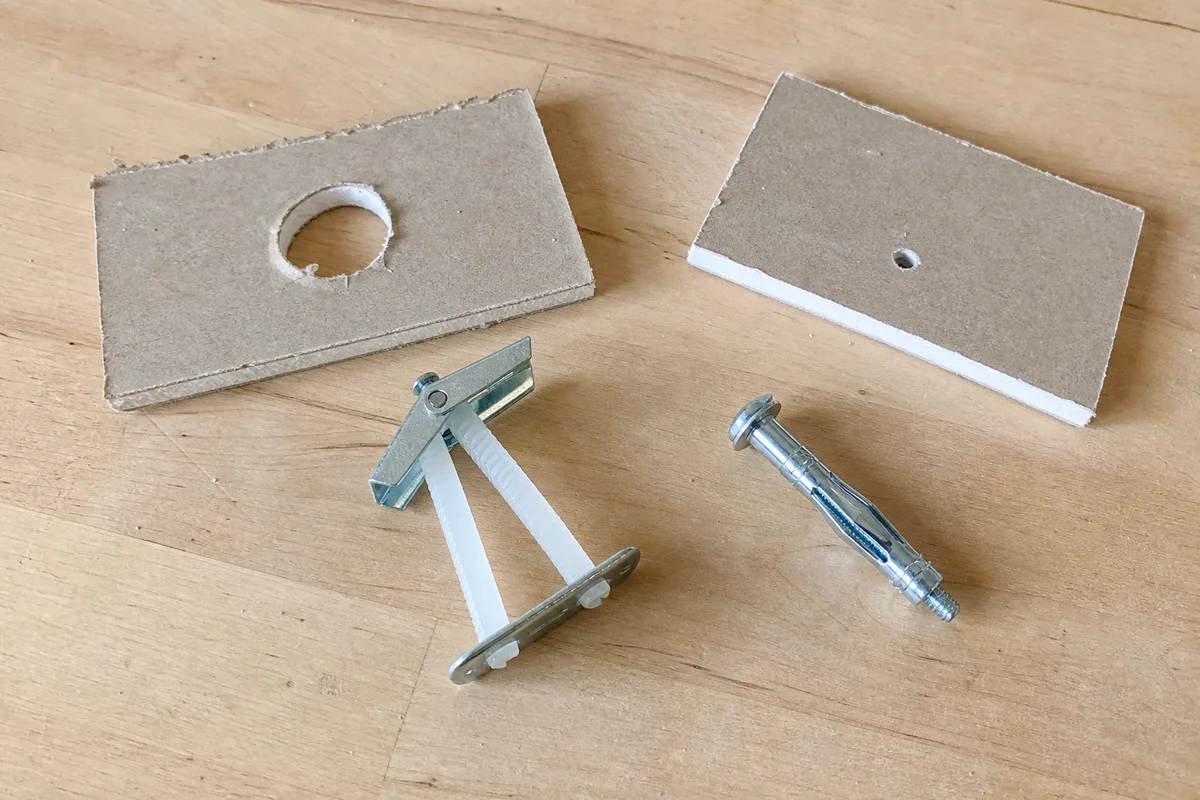 A strap toggle anchor and a molly bolt next to the holes they require
Read the weight rating with suspicion
Printed ratings are useful for ranking products against each other and close to useless as a design limit. A few reasons why.
They are usually measured in shear, not pull-out, and we have established that pull-out is what actually kills mounts. They assume a single anchor in undamaged half-inch drywall, installed exactly right, with the load static and centered. And they are typically stated at or near the failure point rather than at a safe working load.
A reasonable working habit is to treat about a quarter of the printed rating as what you will actually rely on, and to add margin on top of that for anything with projection. That sounds conservative until you consider that the consequence of being wrong is a hole in the wall and whatever was on the shelf on the floor.
Two more adjustments worth making. If the load is dynamic, meaning something gets opened, pulled, leaned on, or bumped, cut your allowance further. A cabinet door being opened applies a repeated yanking load that a static rating says nothing about. And spreading a load across more anchors helps only if the mount is rigid enough to actually share it; a flimsy bracket will load the top anchor almost alone no matter how many you use.
Plaster and lath is a different wall
Older homes, generally pre-1950s, often have plaster over wood lath rather than drywall. It looks similar once painted and behaves completely differently.
Plaster is hard, brittle, and prone to cracking outward from a hole. Wood lath strips run horizontally with narrow gaps between them, and the plaster squeezed through those gaps forms the keys that hold the whole wall on.
What changes in practice:
Drill, do not hammer, and never use a hammer setting. Vibration cracks plaster and can break the keys loose over a wider area than the hole you meant to make. Start with a small bit and step up.
Put tape over the spot first. A square of painter's tape over the drill point reduces surface chipping noticeably.
Expect to hit either wood or air. If the bit hits lath, you have wood to screw into, which is decent for light loads though lath is thin and splits easily. If it hits a gap, you need an anchor that works in a hollow wall, and toggles handle plaster better than expanding anchors because they clamp rather than push outward. Expansion-type anchors are a poor choice in plaster generally: the outward force is exactly what plaster resists worst.
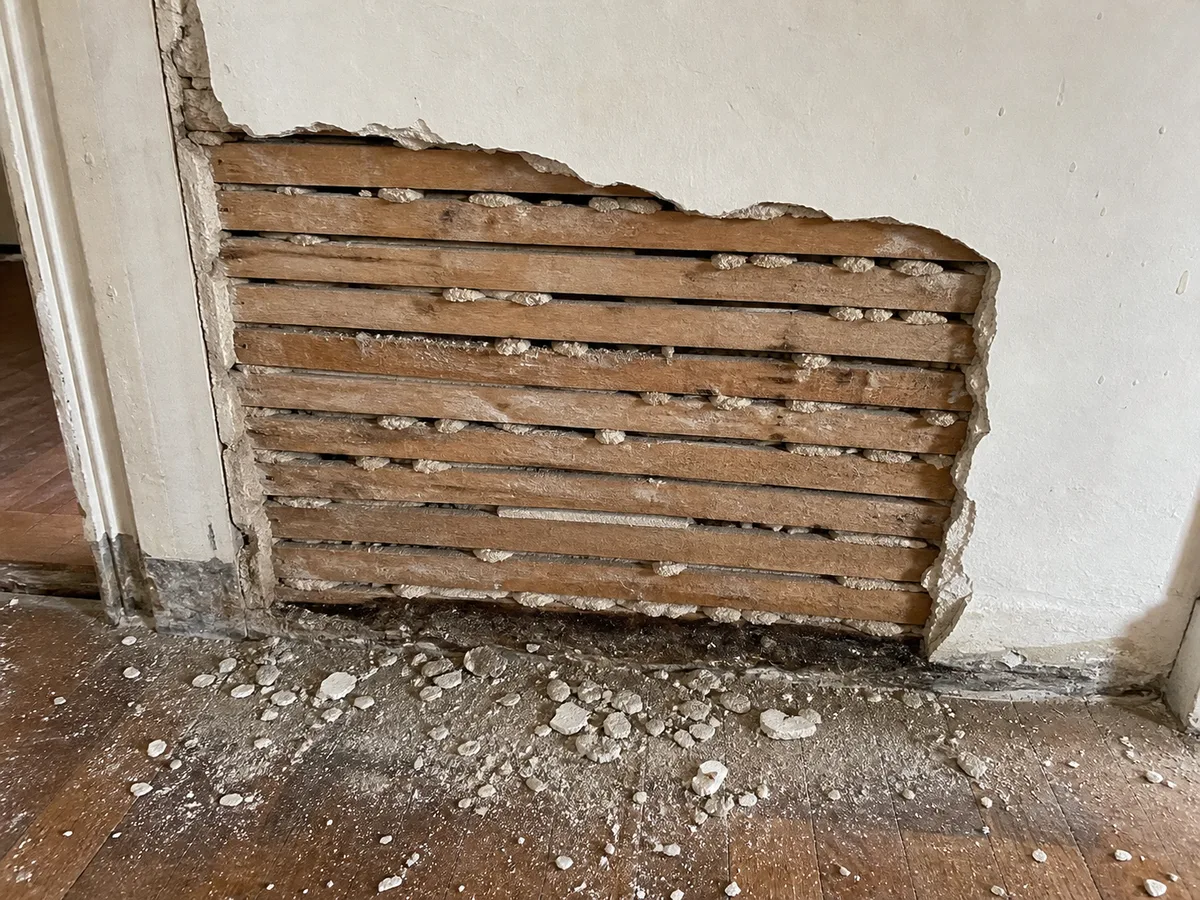 An older wall with plaster over wood lath visible where a section is open
Plaster thickness varies a lot, sometimes within one wall, so an anchor sized for half-inch drywall may not seat correctly. Toggles and strap toggles tolerate this variation better than mollies.
If you are working in an older house, our overview of understanding your home's systems covers what else tends to differ behind those walls.
Masonry, brick, and concrete
Solid walls need a different family entirely, and the good news is they hold far more than any hollow-wall option.
You will need a hammer drill and masonry bits for anything beyond the softest block. A standard drill in a hard concrete wall will overheat, glaze the bit, and make very slow progress.
Plastic or nylon plugs with a wood screw are the light-duty option, fine for hanging a hose reel or a small fixture on block.
Tapcon-style concrete screws thread directly into a precisely sized pilot hole. They are quick, they can be removed, and they are the most convenient choice for medium loads. The pilot diameter matters more here than with most fasteners; the packaging specifies a bit size and being one size over means the threads never bite.
Sleeve and wedge anchors are the heavy-duty answer, expanding against the sides of the hole as you tighten a nut. These are what you use for anything structural or safety-related.
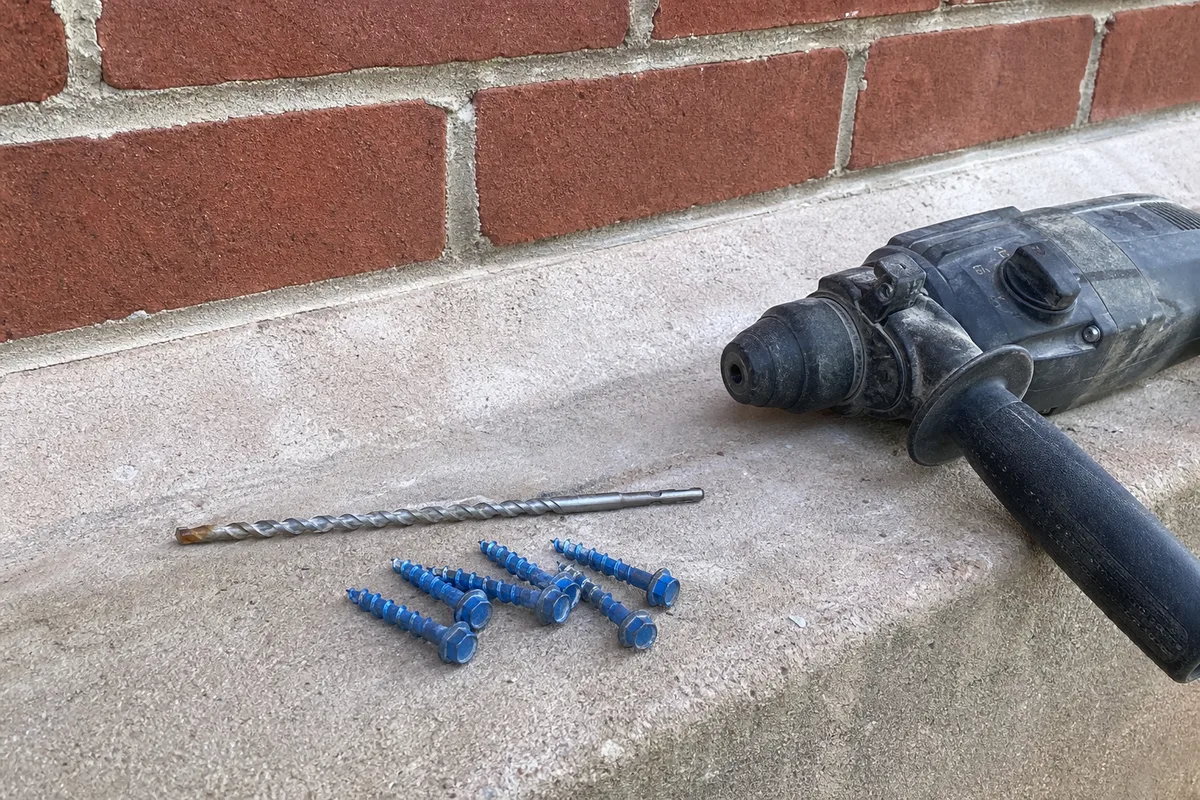 Concrete screws and a masonry bit resting against a brick wall
Two details that save trouble. Drill deeper than the fastener length, because dust packs into the bottom of the hole and will stop the anchor from seating. And clear that dust out, with a shop vacuum or by blowing it clear, before setting the anchor. Skipping this is the most common reason a masonry anchor fails to tighten properly.
Mortar joints are softer than brick and easier to drill, and they are also easier to repair later if you remove the mount. For light loads, drilling the joint rather than the brick face is often the better call. For heavy loads, the brick itself holds better, though drilling through the face of a brick risks cracking it.
Matching real jobs to real answers
Picture under about 10 pounds, hanging flat. A picture hook nailed at an angle into drywall, or a plastic plug. This is genuinely a small job and does not need more.
Heavy mirror or framed art, hanging flat. Two points into studs if the width allows it, otherwise two zinc self-drilling anchors or mollies spaced as far apart as the frame permits. Wide spacing matters more than anchor count.
Floating shelf or any bracket with projection. Studs, ideally. If the layout will not cooperate, strap toggles, and reduce what you plan to put on it. This is the category where people are most often over-optimistic.
Curtain rod. The brackets project and the rod gets tugged, so treat this as a projection load, not a light one. Self-drilling anchors are usually adequate for a light rod on a short window; a heavy rod on a wide window wants studs or toggles at the ends.
TV mount. Studs, with lag screws sized per the mount instructions. There is no anchor answer here worth entertaining, and this is not a case where a workaround is clever.
Wall cabinet or anything at head height that people reach into. Studs, without exception.
Ceiling. Anything hanging from a ceiling goes into a joist. Ceiling drywall is often 5/8 inch rather than 1/2, but the thickness is not the point; the load is pure pull-out at all times and there is no shear component helping you. Light fixtures mount to an electrical box, and if that box is not rated to carry weight it must be replaced with one that is.
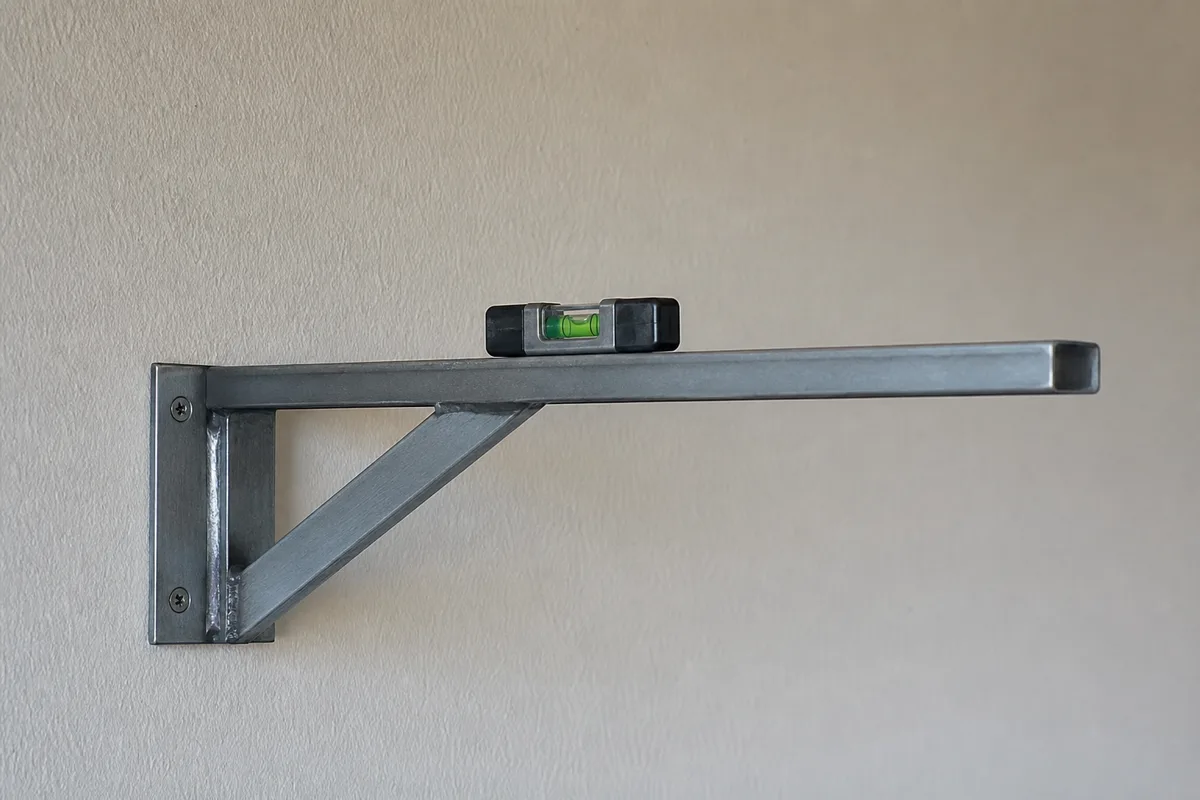 A shelf bracket screwed directly into a wall stud
The mistakes that cause most failures
Drilling the hole oversize. The single most common installation error. Use the bit size on the package, not the next one up because it went in easier. An oversize hole means an expansion anchor spins and a threaded anchor never bites.
Overtightening. With self-drilling anchors and mollies both, there is a point where you have set the anchor and everything past that is stripping gypsum. Stop when the flange goes flush and the mount stops moving.
Anchoring 2 inches from a stud. Worth checking before you drill. People find the stud, decide their layout does not quite line up, and use an anchor an inch away rather than shifting the mount slightly. Almost always the mount could have moved.
Reusing an old hole. A hole that has already had an anchor pull out has crushed gypsum around it, and nothing you put back in will hold as well. Move over at least 2 inches into undamaged board, patch the old one, and accept the extra ten minutes.
Anchoring into a drywall seam or a corner bead. Seams have joint compound and tape built up over them and sit over framing or a butt joint; neither is what your anchor expects. Corners have metal bead under the mud.
Ignoring what is behind the wall. Before drilling 1/2-inch holes, think about what runs in that cavity. Electrical runs vertically near outlets and switches and horizontally between them. Plumbing walls, usually the ones backing a bathroom or kitchen, deserve real caution. Our guide to how home electrical circuits work explains the typical routing well enough to make a sensible guess about where not to drill.
Assuming the mount shares the load evenly. Four anchors on a flexible bracket are not four times one anchor. Rigid mounts share, flexible ones do not.
Where this stops being a DIY call
Handrails and grab bars carry a person's full weight suddenly, in the worst possible direction, at the worst possible moment. They go into solid blocking or studs, and if the framing is not where you need it, the correct fix is opening the wall and adding blocking rather than finding a stronger anchor. This is one of those jobs where the anchor aisle offers a tempting shortcut and the shortcut is genuinely unsafe.
The same goes for anything overhead that would land on someone, and for mounting into a wall you cannot identify. If you drill and the bit goes through into a cavity you did not expect, or comes out with insulation, or hits metal, stop and find out what is there before enlarging anything.
Everything else on this page is well within a careful afternoon. The skill is not in the driving; it is in the two minutes before the drill comes out, deciding whether the load is shear or pull-out, whether a stud is reachable, and whether the anchor you grabbed is actually built for the direction of force you are about to apply. Get that call right and the mount outlasts your interest in what is hanging on it.