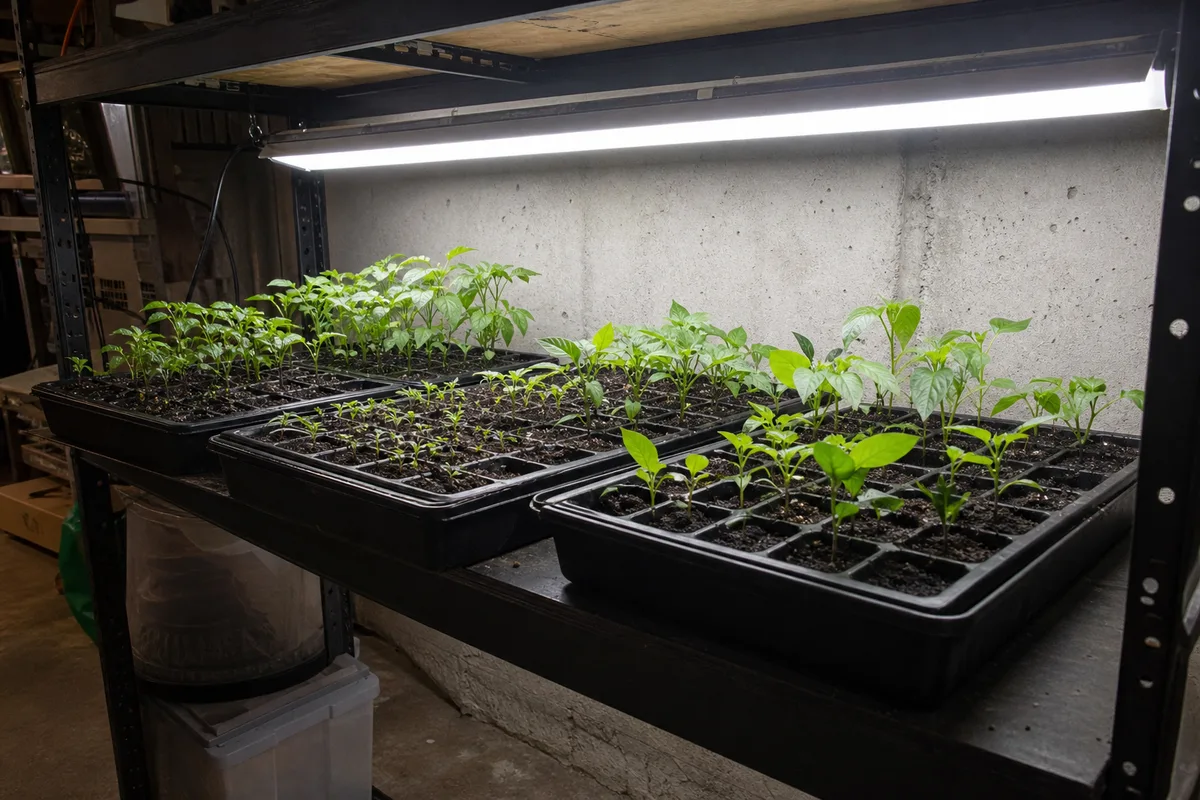
Almost everyone who fails at starting seeds indoors fails the same way, and it is not a mystery green thumb they were born without. They sow too early because the seed packets arrived and the enthusiasm was high, they park the trays on the sunniest windowsill in the house, and three weeks later they are looking at a row of pale, floppy stems leaning hard toward the glass. The seedlings did sprout. That part is easy. Keeping them short, stocky, and alive long enough to survive the move outdoors is where the whole thing comes apart.
I have started thousands of seedlings this way, killed a fair number in the learning (my compost bin has seen a few things), and what I can tell you is that indoor success comes down to three things almost nobody weighs correctly the first time: light, timing, and hardening off. Get those three right and the rest is forgiving. Get any one of them wrong and you can do everything else perfectly and still end up composting the tray. This walks the full arc, from the day you fill the cells to the day the plants go in the ground for good, with the specific numbers and judgment calls that decide which side of that line you land on.
What actually kills indoor seedlings
Start with the failure modes, because knowing what is trying to kill your seedlings tells you what to defend against. There are really only four common killers indoors, and none of them is bad luck.
The first and most common is not enough light, which shows up as stretching. A seedling that cannot find the brightness it wants does the sensible thing and reaches for more, throwing all its energy into a longer stem instead of a thicker one. You get a two-inch plant on a four-inch stalk, pale and thin as a hair, that keels over when you breathe on it. Gardeners call these leggy, and once a seedling has gone leggy you cannot fully undo it. It is the single most common way a windowsill garden dies.
The second is damping off, a fungal collapse that hits at the soil line. One morning the seedlings look fine; the next, several have pinched to a thread right where the stem meets the mix and toppled over, and no amount of water brings them back. Damping off thrives in soil that stays soggy and air that never moves. It spreads fast through a tray, so a wet, stagnant, overcrowded setup can lose a whole flat in two days.
The third is timing that fights the calendar. Seedlings started far too early outgrow their cells with nowhere to go, because it is still frozen outside. They get root-bound, stalled, and stressed indoors for weeks, and a plant that spent its youth cramped and hungry never fully catches up once it is finally planted.
The fourth kills at the very end: the shock of moving outside without a transition. A seedling raised under gentle indoor light and still air is genuinely unprepared for direct sun and wind. Set it out cold and it can scorch and shred in a single afternoon, dead within two days after two months of care. That last one stings the most because the work was already done: two months of daily fussing, undone by one sunny afternoon the seedling meets with the resilience of wet tissue paper.
Notice that three of the four trace straight back to light, timing, and the transition outdoors. Master those and you have defended against most of what kills a tray. The rest of this covers each in the order you will meet it.
Timing: counting back from last frost
The most important number in this whole process is not on the seed packet's front. It is your average last frost date, and everything you sow indoors is timed backward from it, not forward from the day your seeds arrive. This is the discipline beginners break first, and starting tomatoes eight weeks early out of pure enthusiasm is how you end up with root-bound plants stuck indoors with nowhere to go while it is still snowing outside.
Find your last frost date first. It is a local average, usually given as a specific week for your area, and it means the date after which a hard frost becomes unlikely, not impossible. Write it down; it anchors the whole schedule. From there, each crop has a window measured in weeks before that date.
Rough guides worth memorizing, because they cover most of what people grow from seed:
- Tomatoes and peppers: 6 to 8 weeks before last frost. Peppers are slow to germinate, so they lean toward the earlier end; tomatoes grow fast and punish an early start, so lean later.
- Broccoli, cabbage, and other brassicas: 4 to 6 weeks before last frost, and these tolerate going out a couple of weeks before the frost date because they take a light chill.
- Cucumbers, squash, and melons: only 2 to 3 weeks before, because they grow explosively and hate being transplanted. Start these too early and they are a tangled mess before it is warm enough to plant.
- Lettuce and many herbs: 4 to 6 weeks before, with lettuce also tolerating an early move outdoors.
The trap is always the fast growers. Tomatoes look so eager in week three that you feel like a genius, and then weeks six, seven, and eight arrive with the plants doubling in size and the ground still cold. A tomato that has been potted up twice and is flowering in a cup on your shelf is not ahead; it is stressed and root-bound, and it will sulk for weeks after planting while a younger, un-stressed seedling started at the right time sails past it. Later is genuinely safer than earlier here. If you are planning what to grow and when it all goes in the ground, the broader guide to starting a home garden lays out how the indoor schedule connects to the outdoor beds so the timing lines up end to end.
One more honest limit: these windows assume you can give the seedlings enough light to grow well indoors for that whole stretch. If your light setup is weak, a shorter indoor stay is actually safer, because every extra week under poor light is a week of stretching. When in doubt, start a little later with good light rather than earlier with bad.
Containers and starting mix
You do not need special equipment, but you do need to get two things right: what you grow in, and what you grow in it. They matter more than they look.
For containers, anything that holds mix and drains works, but the practical sweet spot is a cell tray with individual cells around 1.5 to 2 inches across, sitting in a solid tray with no holes so you can water from the bottom. Cells keep each seedling's roots separate, which makes potting up and transplanting far cleaner than a crowded open flat where you tear roots apart to separate plants. If you reuse cells from last year, rinse them and wipe them out; leftover crusted mix is where damping-off fungus overwinters. Nobody loves scrubbing trays in February, but the fungus is counting on you skipping it. Whatever you use must drain. A container with no drainage holds water at the bottom and rots roots, no matter how careful your watering.
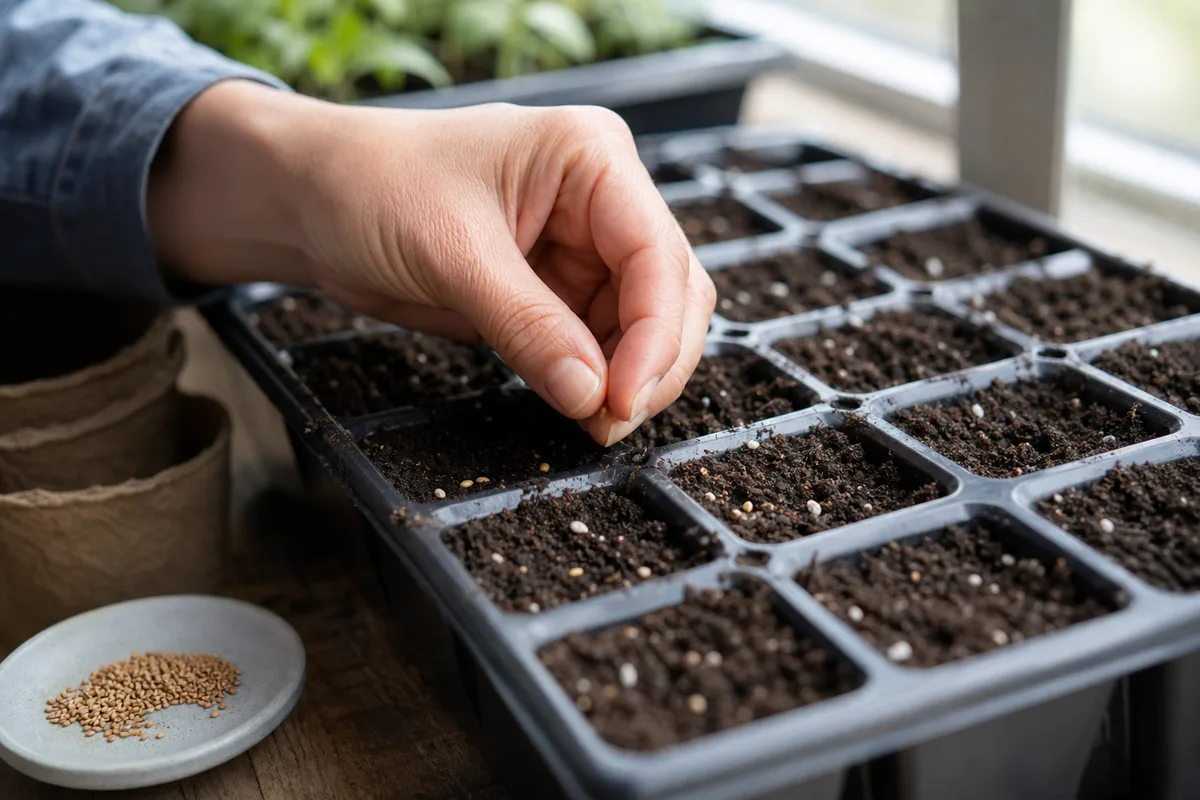 Sowing seeds into a cell tray filled with seed-starting mix
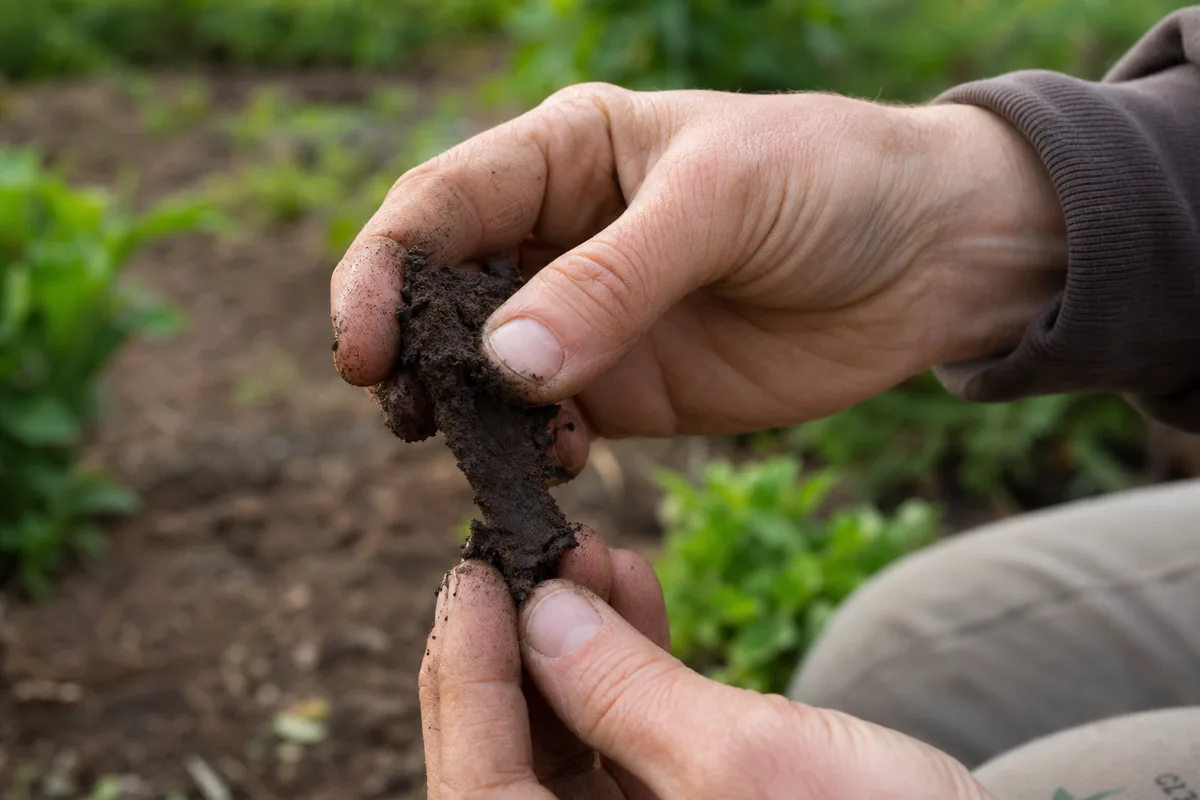
Now the part people get wrong: use a seed-starting mix, not garden soil and not potting soil. Garden soil is far too dense; it packs down in a small cell, holds too much water, and carries fungus and weed seeds indoors. A true seed-starting mix is light and fluffy, usually peat or coir with perlite, and it is made to hold moisture while still letting air reach the roots, which is exactly the balance a fragile seedling needs. This is the same principle that governs any soil, just tuned for a cell: the mix has to hold water without drowning the roots, and if you want the mechanism behind why that balance matters, how soil holds water and nutrients explains what is actually happening in that little cube of mix.
Two techniques that save trays. First, pre-moisten the mix before you fill the cells. Dump it in a tub, add warm water, and work it with your hands until it is the dampness of a wrung-out sponge, not dripping. Dry mix out of the bag is water-repellent and will float your seeds around when you first water; pre-moistened mix settles evenly and holds seeds where you put them. Second, sow at the right depth, which for most seeds is about two to three times the seed's own diameter. Tiny seeds like lettuce barely get covered; a big bean goes down half an inch or more. The most common depth mistake is burying small seeds too deep, where they exhaust themselves before reaching the surface. When unsure, sow shallow. Drop two seeds per cell to hedge against duds, and snip the weaker one at soil level later rather than pulling it and disturbing the keeper's roots.
Light: why a windowsill isn't enough
This is the section that saves the most trays, so read it twice. The belief that a bright windowsill grows good seedlings is the single most expensive myth in indoor gardening, and it costs people whole flats every spring.
Here is the problem stated plainly: a south-facing window gives far less usable light than seedlings need, even one that looks blazingly bright to your eye. Your eye adjusts and tells you the sill is sunny; the seedlings, which measure light in a way your eye does not, are effectively in twilight. Your eye, it turns out, is an optimist. Add short late-winter days, glass that filters intensity, and light coming from only one side, and the seedlings respond the only way they can. They stretch toward the window, leaning and elongating, and the tell is unmistakable: leggy, stretched stems, pale and thin, often bending as one toward the glass. Once you learn to read that stretch, you see it everywhere on windowsills in March.
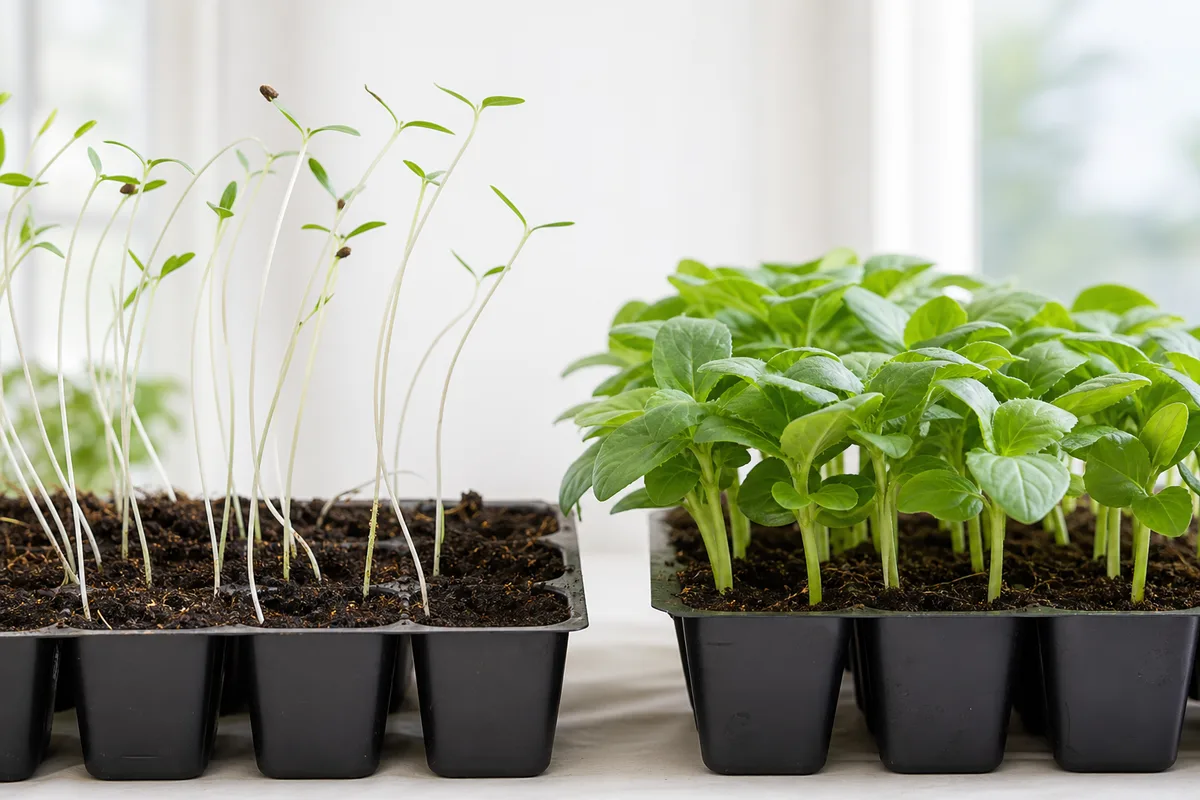 A comparison of leggy stretched seedlings beside compact healthy ones
The fix is cheap and it is not optional if you want stocky plants: a shop light hung two inches above the tops of the seedlings. An ordinary fluorescent or LED shop light, the kind sold for garages, puts out plenty for seedlings when it is close. Close is the whole trick. Light intensity falls off fast with distance, so a fixture a foot above the tray is nearly useless while the same fixture two inches above is transformative. Hang it on chains so you can raise it as the seedlings grow, always keeping that two-inch gap above the highest leaves. Run it 14 to 16 hours a day on a plug-in timer so you are not remembering to flip a switch. Seedlings want a long day and a real night; leaving the light on around the clock does not help and wastes energy.
You will see the difference within days of switching from window to light. Stems thicken instead of stretching, the space between leaf sets stays short and compact, and the seedlings stand up on their own. A stocky seedling with a stem you could almost call chunky is the goal; that plant transplants well and shrugs off wind later. The leggy windowsill version, by contrast, has spent its energy in the wrong place and cannot get it back.
The honest limit: if the only light you can give is a window, you can still improve the odds by rotating the tray a quarter turn every day so the stretch is at least even, keeping the crop to slow, tolerant plants, and starting later so the indoor stay is short. But no amount of rotating makes a window equal to a close shop light. If leggy seedlings are your recurring problem, light is almost always the answer, not water or feed or luck.
Watering and airflow without rot
Once the seedlings are up under good light, the way you kill them shifts from too little light to too much water and too little air. Damping off lives in exactly the conditions careful, worried beginners tend to create: constantly wet mix and dead-still air. It is the rare disaster you cause by caring too much.
Water from the bottom whenever you can. Pour water into the solid tray under the cells and let the mix wick it up for 10 to 20 minutes, then pour off whatever is not absorbed. Bottom watering draws roots downward, keeps the surface drier where fungus starts, and avoids the flattening that a hard splash from above does to tiny seedlings. Let the top of the mix dry slightly between waterings; lift a cell and feel its weight, because a light cell needs water and a heavy one does not. The instinct to keep the mix constantly moist is what breeds rot. Seedlings want the mix damp, then approaching dry, then damp again, not swamp-wet all the time.
Airflow is the other half, and it is the one people forget entirely. Still air over wet mix is a fungal greenhouse. Set a small fan on the lowest setting to move the air across the trays for a few hours a day, not aimed to blast them but just enough to keep the leaves and surface stirring. That gentle movement dries the surface, discourages damping off, and as a bonus makes the stems flex, which thickens them the way a breeze toughens a plant outdoors. If you germinated under a clear humidity dome to hold moisture for sprouting, take the dome off the moment most seeds are up. Its job ends at germination; leaving it on traps the exact humidity that rot loves.
If damping off does start, act fast, because it spreads through a tray in a day or two. Move the affected tray away from the others, stop watering until the surface dries out, get real air moving over it, and remove any seedlings that have already pinched off, since they will not recover and only feed the fungus. Prevention beats cure here by a mile: a light hand with water plus a small fan running keeps most trays clear of it entirely.
Potting up as seedlings grow
If your timing runs long, or a crop simply grows faster than the ground warms, the seedlings will outgrow their starter cells before it is time to plant. That is when you pot up, and doing it at the right moment keeps a plant from stalling.
The signal to pot up is roots, not size. When you see roots peeking out of the drainage holes, or you slide a plant out and the root ball holds together in a dense white web, the cell is full and the plant needs more room. On top, the reliable cue is the first true leaves, the second set that looks like the actual plant, as opposed to the plain first pair of seed leaves. Once a seedling has one or two sets of true leaves and is crowding its cell, move it up to a larger pot, usually a 3 to 4 inch container.
Handle it correctly and you will not set the plant back. Lift a seedling by a leaf, never by the stem. A crushed leaf, the plant grows a new one; a crushed stem is fatal, because that stem carries everything. Think of it as the one part with no spare. Loosen the root ball from below with a pencil or a fork, support it from underneath, and settle it into fresh mix in the bigger pot. With tomatoes specifically, you can plant them deeper than they were sitting, burying part of the stem, because tomato stems grow roots along their length and a deeper plant builds a stronger root system. That trick works for tomatoes and their close relatives, not for most other plants, so do not bury a pepper or a cucumber the same way.
Pot up once if you must, but treat a second potting-up as a warning sign about timing. A plant that needs its third container indoors was started too early for your setup, and each move is another check it has to recover from. The cleaner path, next season, is counting back more honestly from your frost date so the plant goes from starter cell to garden with at most one pot in between.
Hardening off before transplant
This is the step beginners skip, and skipping it is how a beautiful tray of seedlings dies in the final week. Hardening off is the gradual introduction of indoor-raised seedlings to the real conditions outside, and it is not optional. A plant grown under steady light, still air, and stable indoor temperatures has never met direct sun, wind, or a cool night. Move it straight from the shelf to the garden and it can scorch, wilt, and shred, sometimes dead within two days of a two-month effort.
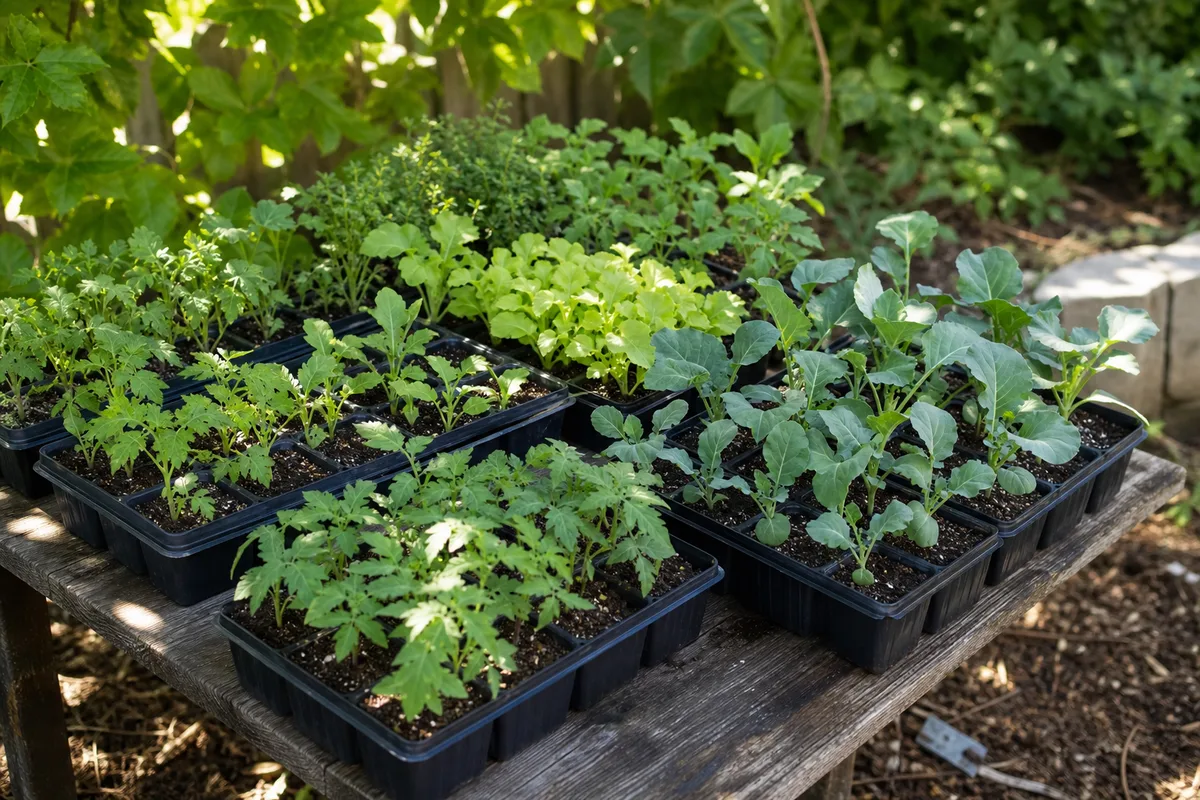 Seedling trays set outdoors in shade to harden off before transplanting
Do it over 7 to 10 days, adding roughly an hour of outdoor exposure each day, and that patience is exactly what separates a transplant that thrives from one that fries. Here is the arc I follow. On day one, set the trays outside in a sheltered, shady spot out of direct sun and strong wind for about an hour, then bring them back in. Each following day, add an hour and let them take a little more direct sun, starting with gentle morning light rather than harsh midday. By the middle of the stretch they are handling several hours outside including some real sun; by the end they are spending most of the day out and even a night outside if the temperature stays mild. Watch them the whole time. Slightly paler leaves that firm back up are normal toughening; sudden bleached or crispy patches mean you moved too fast and should back off a day.
Two practical notes. First, wind hardens as much as sun does, so do not shelter them from a light breeze the entire time; that gentle movement is part of what stiffens the stems for outdoor life. Second, seedlings dry out much faster outside than in, so check the mix more often during this stretch, sometimes twice a day on a warm breezy afternoon, because a tray can go bone dry outdoors in hours. Hardening off is the least glamorous step and the one most likely to be rushed when you are excited to plant, and it is precisely the step that decides whether all the earlier work pays off.
Moving them outside for good
After the plants are hardened off, the last decision is when and how to put them in the ground, and a couple of judgment calls here protect the whole season's head start.
Timing outdoors is set by your last frost date and, for warm-season crops, by soil warmth, not just air. Tomatoes, peppers, cucumbers, and squash want the danger of frost fully past and the ground warmed up; setting them out during a cold snap stalls them even if a frost never actually lands. Cool-tolerant crops like broccoli, cabbage, and lettuce can go out earlier, a couple of weeks before the frost date, because a light chill does not bother them. Watch the actual forecast, not just the calendar average, and if a late frost threatens after you have planted, cover the transplants overnight with a bucket or a cloth and uncover them in the morning.
Transplant technique on the day matters too. Plant in the evening or on an overcast day rather than into blazing midday sun, so the plants settle in during the gentlest hours instead of wilting on arrival. Water each one in thoroughly right after planting to close the air pockets around the roots and give it a running start. Handle the root ball gently, keep as much of it intact as you can, and set the plant at the same depth it grew, with the tomato-deeper exception noted earlier. For the first few days in the ground, keep the soil evenly moist while the roots reach out into their new home.
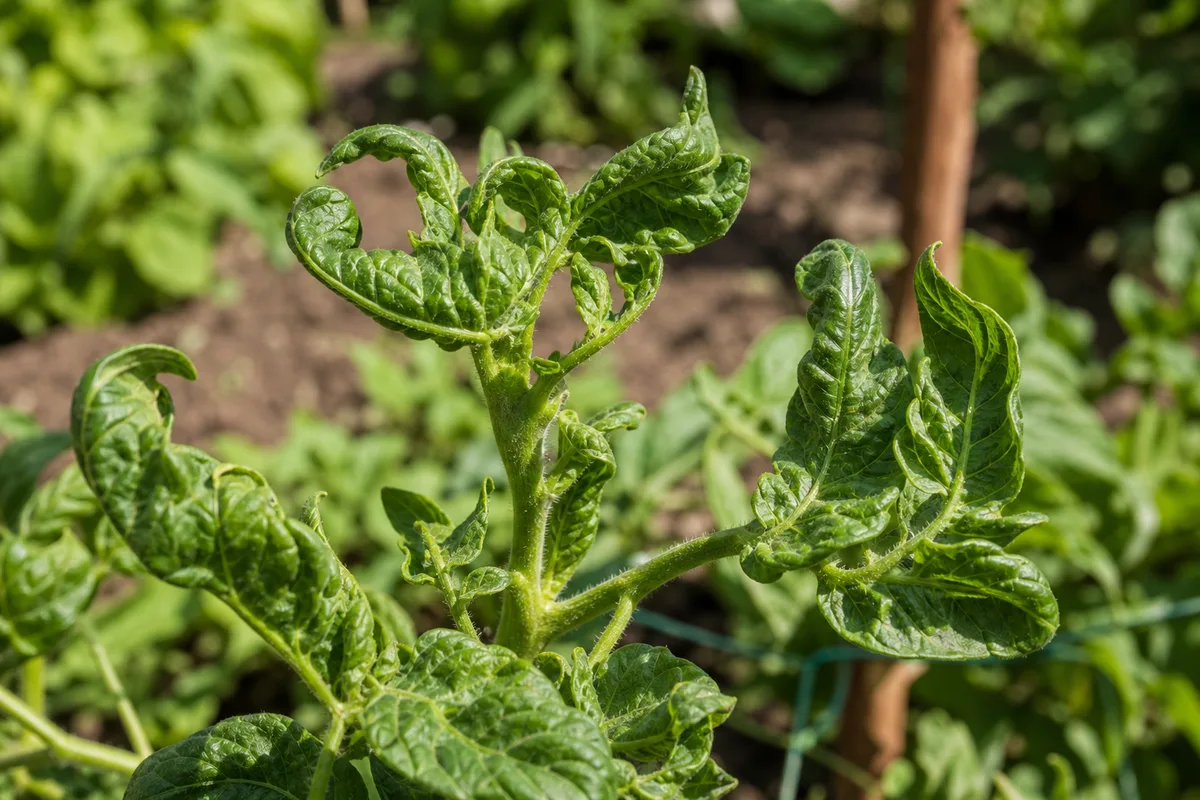
Then keep watching, because the garden throws problems the shelf never did. Some early leaf changes are just the plant adjusting to full sun and settling in. Others are real signals worth reading, and knowing which is which keeps you from panicking or ignoring a genuine issue. If your tomatoes in particular start showing curled or distorted leaves after transplant, why tomato leaves curl walks through the several causes and which ones actually need action. And once these transplants are thriving in the ground, the whole cycle connects back to the broader plan in the guide to starting a home garden, which ties the indoor seed-starting you just did to the seasons that follow. Get light, timing, and hardening off right, and the head start you built indoors becomes a real one in the garden, instead of a tray of good intentions that never made it to spring.