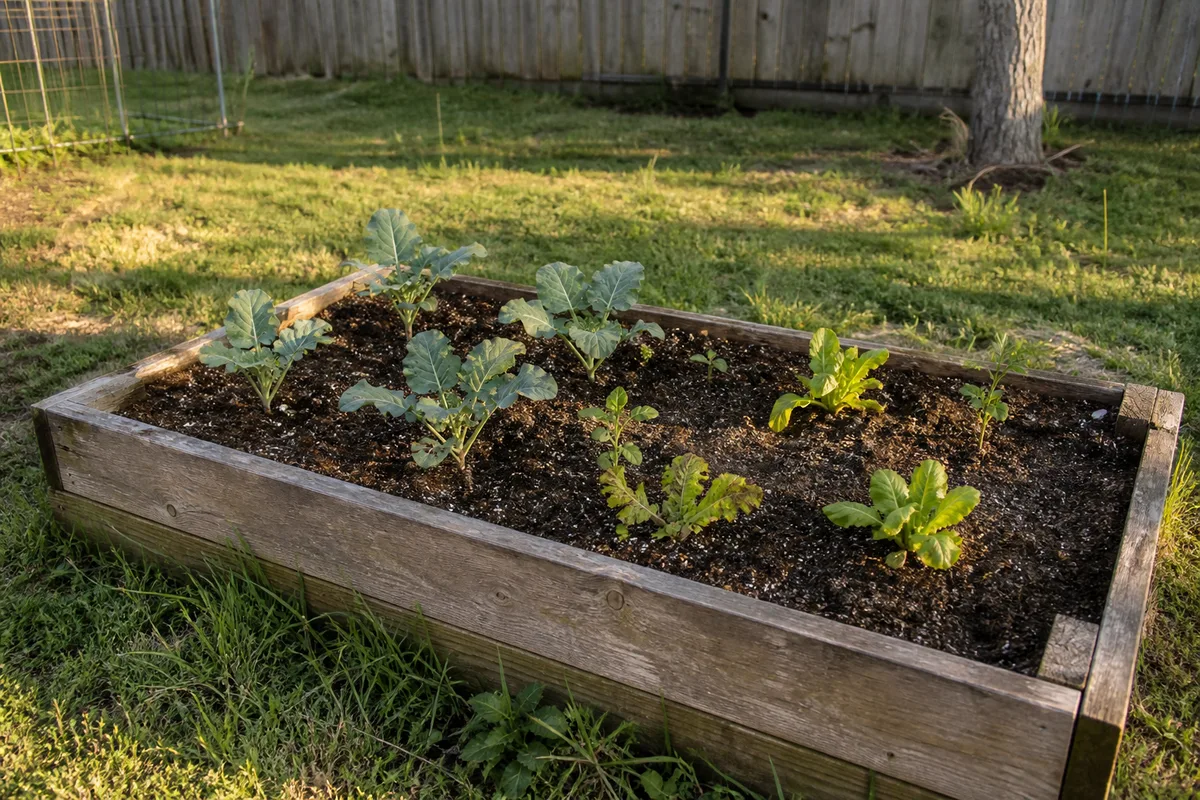
Most first gardens fail in July, not April. The spring part is easy: the weather is mild, the seedlings look eager, and a trip to the garden center feels like progress. Then the heat arrives, the weeds close in, and a plot that was too big to begin with turns into a chore nobody wants to do after work. The garden that survives is almost never the ambitious one. It is the small, boring one that got watered.
This guide is written for exactly that outcome: getting one modest garden through one full season, from the first thaw to the first frost, without wasting a spring on guesswork. I am going to keep it deliberately narrow. You will read your yard, pick one spot, build one bed, plant a short list, and keep it alive. That is the whole plan. If you finish the season with a working plot and a few meals off it, you have won, and next year you can double it from a position of experience instead of hope.
What the first season is really for
The first season is for building a working plot, not a showpiece. Say that out loud before you buy a single seed, because almost every beginner mistake traces back to forgetting it. You are not trying to grow the garden you saw in a photo. You are trying to learn how your specific yard behaves: where the sun actually lands in June versus April, how fast your soil dries after a rain, which corner the hose reaches and which it does not. Those facts are worth more than any crop you harvest, and you can only get them by running one season and paying attention. The yard is glad to teach you all of it; it just refuses to do so in advance.
Think of year one as a calibration run. A working plot means a bed you can reach into, soil that drains, a watering habit you can keep, and a short list of plants that mostly lived. It does not mean picture-perfect rows or a full pantry of canning. If you aim for the magazine version, you will over-build in April and resent the whole thing by August. If you aim for a plot that simply functions, you will end the season knowing your yard well enough to expand on purpose.
There is a real cost and time reality worth stating plainly. A single raised bed, built and filled, tends to run somewhere in the range of 100 to 250 dollars depending on whether you buy lumber or reuse it, and how much soil you truck in. The ongoing time is smaller than people fear: budget about twenty minutes twice a week for watering and weeding once the bed is established, plus a heavier hour when you plant and another when you close it down. That is a manageable habit. A quarter-acre vegetable plot is not, and pretending otherwise is how gardens get abandoned to the weeds by midsummer, quietly, while you find reasons not to look out that particular window.
I have watched more first gardens die of ambition than of any pest or blight. The plot that gets tended is the plot that stays small enough to tend. Hold that idea through every decision below.
Reading your site: sun, water, and access
Before you choose anything, spend a weekend just watching your yard. The three things that decide where a garden goes are sun, water, and access, in that order, and you cannot fake any of them with effort later.
Sun is the one people get wrong most. Six hours of direct summer sun is the practical minimum for most vegetables. A spot that gets four hours will grow leafy greens like lettuce, spinach, and kale, but it will sulk on tomatoes, peppers, beans, and anything that fruits, and a sulking tomato commits to the role with the energy of a teenager asked to help in the yard. The trap is that a yard looks sunny in early spring when the trees are bare and the sun is low. By late June the leaves are full and the sun is high, and a corner that read as bright in April can be in shade by 2 p.m. Trees do not warn you before they leaf out. If you can, track a spot across a real summer day: note whether it has sun at 9 a.m., noon, and 4 p.m. Three checks tell you more than a guess. If you are starting in spring and cannot wait a season, watch where the shadows of your house, fence, and trees fall at midday, and assume the leafed-out trees will throw more shade than their bare branches suggest. If the labels on plant tags, full sun, part shade, and the rest, feel vague, how plants use sunlight explains what those hours of light actually do for a plant and why the fruiting crops are so fussy about them.
Water is the second filter. Your bed needs to be within easy reach of a hose or a tap, because a garden that requires hauling watering cans across the yard will not get watered in a heat wave, which is exactly when it matters. If your only sunny spot is 60 feet from the nearest spigot, plan for a hose long enough to reach with slack to spare before you commit; the wrong length is a small purchase that quietly sabotages the whole project. This is worth reading up on properly, because hose choice affects how much of a chore watering becomes. I go into the specifics in choosing a garden hose.
Access is the quiet third factor. You want to be able to walk to the bed without crossing wet lawn or a muddy path, and to reach the middle of it without stepping in. A bed you can approach from the kitchen door gets visited; a bed behind the shed gets forgotten. There is a plain truth here: the garden you see every day is the garden you tend. Put it on a path you already walk.
If your yard fails on sun, be honest and adjust the plan rather than force it. You can grow a genuinely satisfying salad garden in four hours of light. What you cannot do is grow a full-sun tomato in shade by wanting it badly. Match the plant list to the site you have, not the site you wish you had.
Choosing one spot and one bed size
Now commit. One spot, one bed. This is the single most important discipline of the first season, and it goes against every instinct you will have at the garden center, where everything looks small, cheap, and full of promise.
New gardeners plant three times more than they can tend. One 4-by-8-foot bed with five crops beats four beds gone to weeds by midsummer, every time. A 4-by-8 bed is 32 square feet, which sounds small until you are weeding it in July, and it has a specific virtue: at four feet wide you can reach the center from either long side without stepping on the soil, so it never gets compacted. Go wider than four feet and you will find yourself standing in the bed, packing the ground, undoing the loose structure you worked to build. Keep it to four feet across and as long as your space and budget allow, eight being a comfortable, well-proven size.
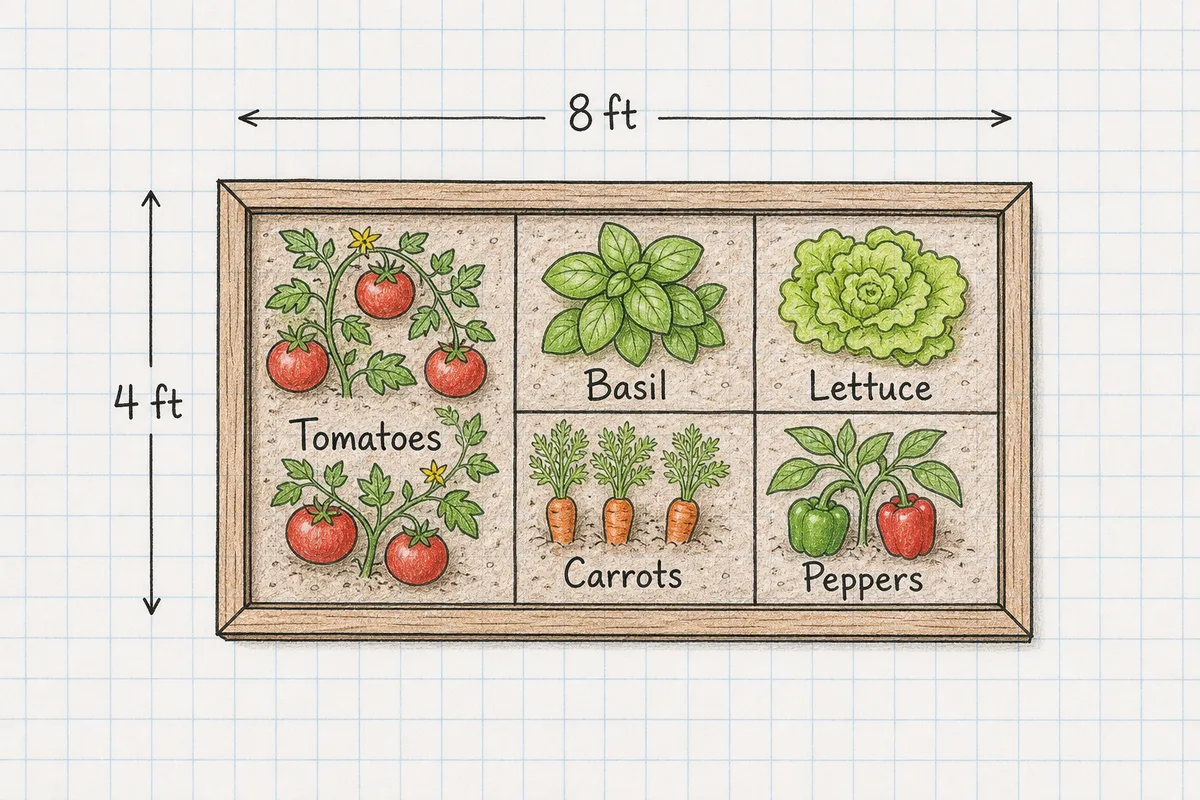 A hand-drawn garden bed plan on graph paper
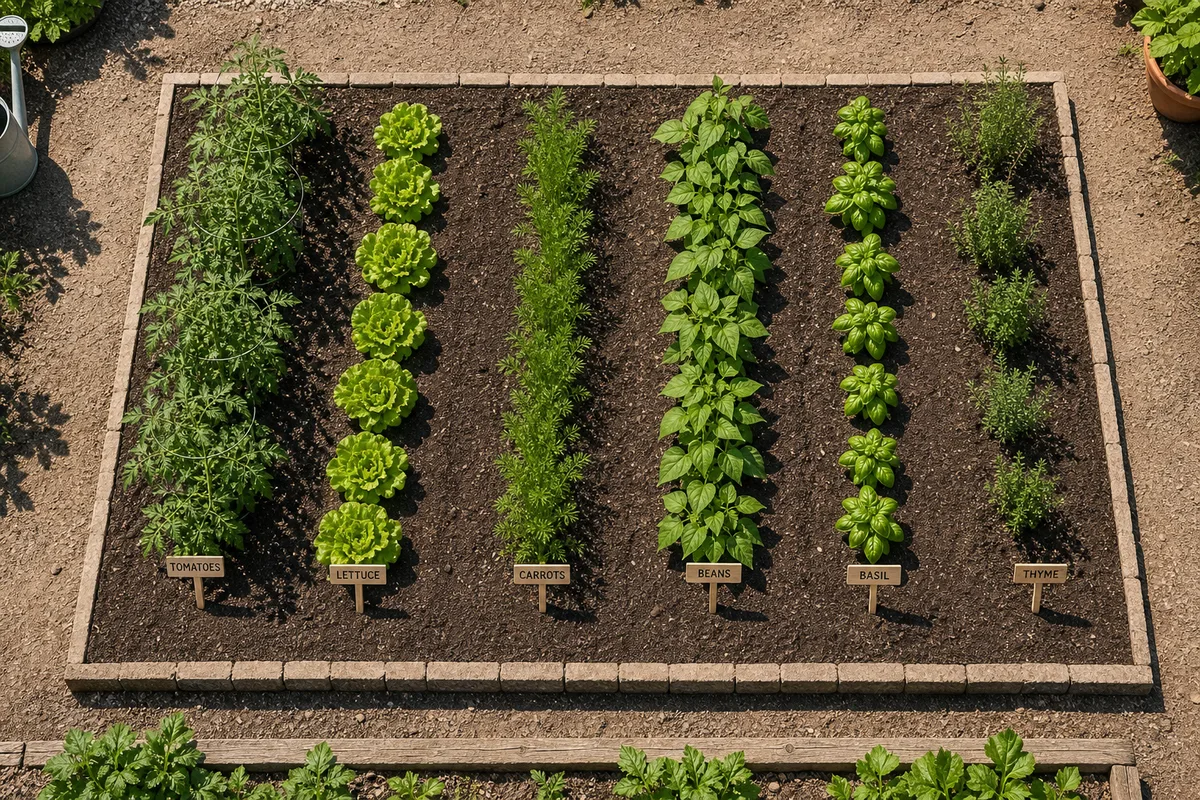
Sketch it before you build it. A sheet of graph paper where one square equals one square foot is enough. Draw the 4-by-8 rectangle, mark which end faces south, and pencil in where each crop will sit, tallest plants on the north side so they do not shade the shorter ones. Ten minutes with a pencil saves you from the classic error of planting a row of pole beans that shades your lettuce into uselessness by August. The plan does not have to be pretty. It has to stop you from crowding.
A raised bed is worth the effort for a first garden even if your native soil is decent, because it gives you a clean start, better drainage, and a defined edge that keeps grass from creeping in. It also warms faster in spring and saves your back a little. If you would rather build than buy, the full construction walkthrough, including lumber choices and how to keep the corners square, is in build a raised garden bed. If you are not sure a raised bed is right for your yard, the trade-offs between raised, in-ground, and container growing are covered in planning a backyard vegetable bed.
Resist the urge to build the second bed now. You can always add one next spring in twenty minutes of decision-making, once you know from experience how much one bed actually demands of you. Almost nobody regrets starting with one. Plenty of people regret starting with four.
Soil basics without the chemistry lecture
You do not need to understand soil chemistry to grow a good first garden. You need to understand three practical things: texture, drainage, and organic matter. Everything else is a detail you can pick up later.
Texture is how the soil feels, and you check it with your hands, not a kit. Grab a handful when it is damp but not soaking and squeeze it. If it packs into a slick, dense ball that holds its shape like modeling clay, you have heavy clay: it holds water and nutrients well but drains slowly and compacts easily, and if your yard is mostly this, fixing compacted clay soil covers how to open it up so roots and water can move through it. If it falls apart the moment you open your hand and feels gritty, it is sandy: it drains fast but lets water and nutrients run straight through. What you want is something in the middle that holds together loosely and then crumbles when you poke it. That crumble is the sign of good structure, and it is what you are building toward.
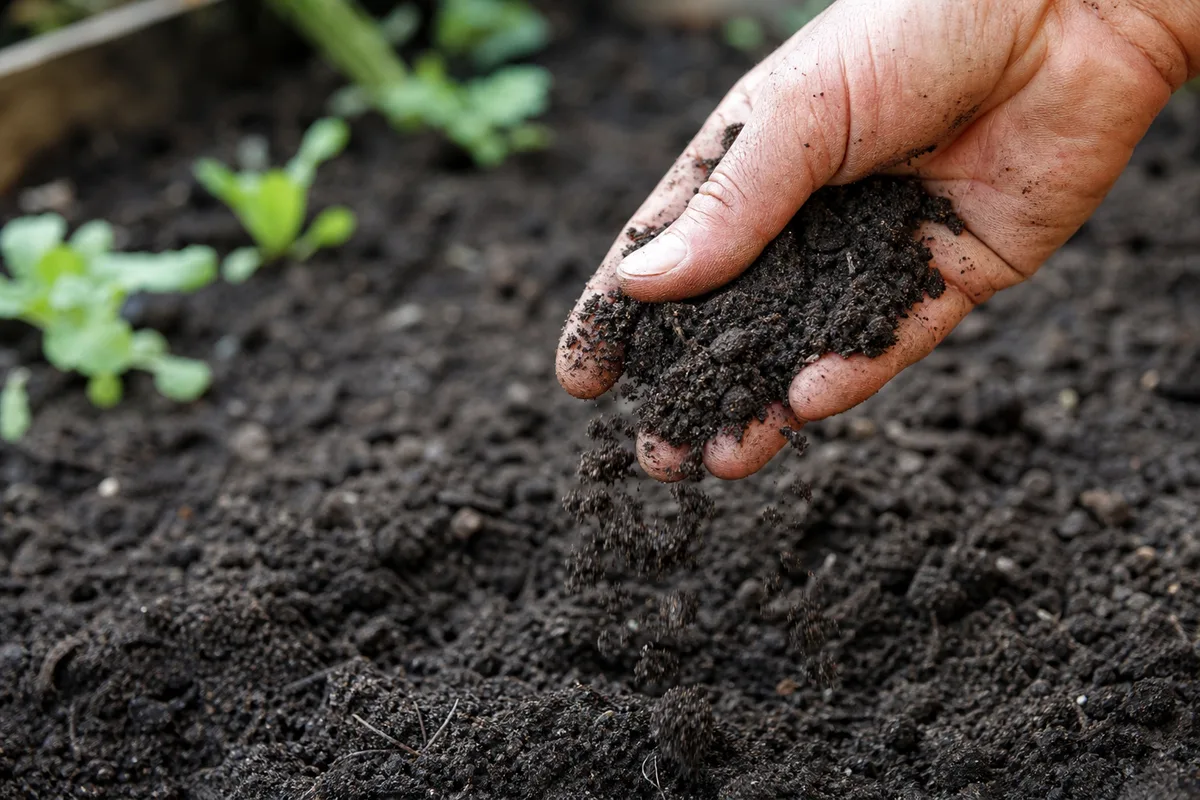 A hand crumbling garden soil to check its texture
Drainage is the thing that quietly kills more plants than drought. After a real rain, does water sit on the surface for hours, or does it soak in within a few minutes? Standing water means roots sitting in an airless soup, and most vegetable roots rot in that condition. A raised bed helps here because you control the fill, but even then you want the bed sitting on ground that drains, not in a low spot where runoff pools.
Organic matter is your one real lever, and the good news is it fixes both extremes. Compost worked into clay opens it up and helps it drain; the same compost in sandy soil gives it body and helps it hold moisture. If you would rather make your own than buy it by the bag, how compost breaks down explains what turns a pile of scraps into usable compost and how to speed the process up. For a new 4-by-8 bed, a two- to three-inch layer of finished compost worked into the top six to eight inches is a sound starting point. If you are filling a raised bed from scratch, a common and forgiving mix is roughly equal parts topsoil, compost, and a coarse material for drainage. You do not have to get it perfect; you have to avoid the two failures of pure sand and pure clay.
The mechanics of why this matters, how soil actually grips water and feeds roots rather than letting it all wash away, are genuinely useful to understand, and I cover them in how soil holds water and nutrients. Read it if you want to know why the compost works instead of just taking my word for it. For the first season, though, the whole soil task comes down to this: make it crumble, make it drain, mix in compost, and move on. Do not let anyone talk you into a soil-testing rabbit hole before you have grown a single plant.
A short, forgiving plant list for year one
Here is where discipline pays off again. Pick five crops. Not fifteen. Five that are hard to kill, that produce enough to feel like a win, and that will teach you the rhythm without punishing a beginner's mistakes.
My standing recommendation for a first full-sun bed is a version of this list:
- Bush beans. They germinate fast, do not need staking, and produce heavily over a few weeks. A three-foot row is plenty. They are about as close to foolproof as a vegetable gets.
- Leaf lettuce. Cut-and-come-again varieties let you harvest outer leaves and keep the plant going. It grows fast enough to give you something to eat within a month, which matters for morale in a first season.
- Zucchini. One or two plants, no more, and I mean that. A single healthy zucchini plant will bury you in fruit by late summer, at which point you learn which neighbors still answer the door. It is a confidence-builder because it is nearly impossible to underperform with.
- Cherry tomatoes. Choose cherry over big slicing types for year one. They set fruit more reliably, ripen faster, and forgive uneven watering better than the large varieties. One or two plants, staked or caged.
- Herbs, one or two. Basil and parsley are steady, and a single pot of each on the corner of the bed earns its space at nearly every meal.
That is five, and it will fill a 4-by-8 bed comfortably without crowding. Notice what is not on the list: nothing that needs a long, fussy season, nothing that demands perfect conditions, nothing that produces one head after four months of care and then is done. You want plants that reward attention quickly and forgive a missed watering.
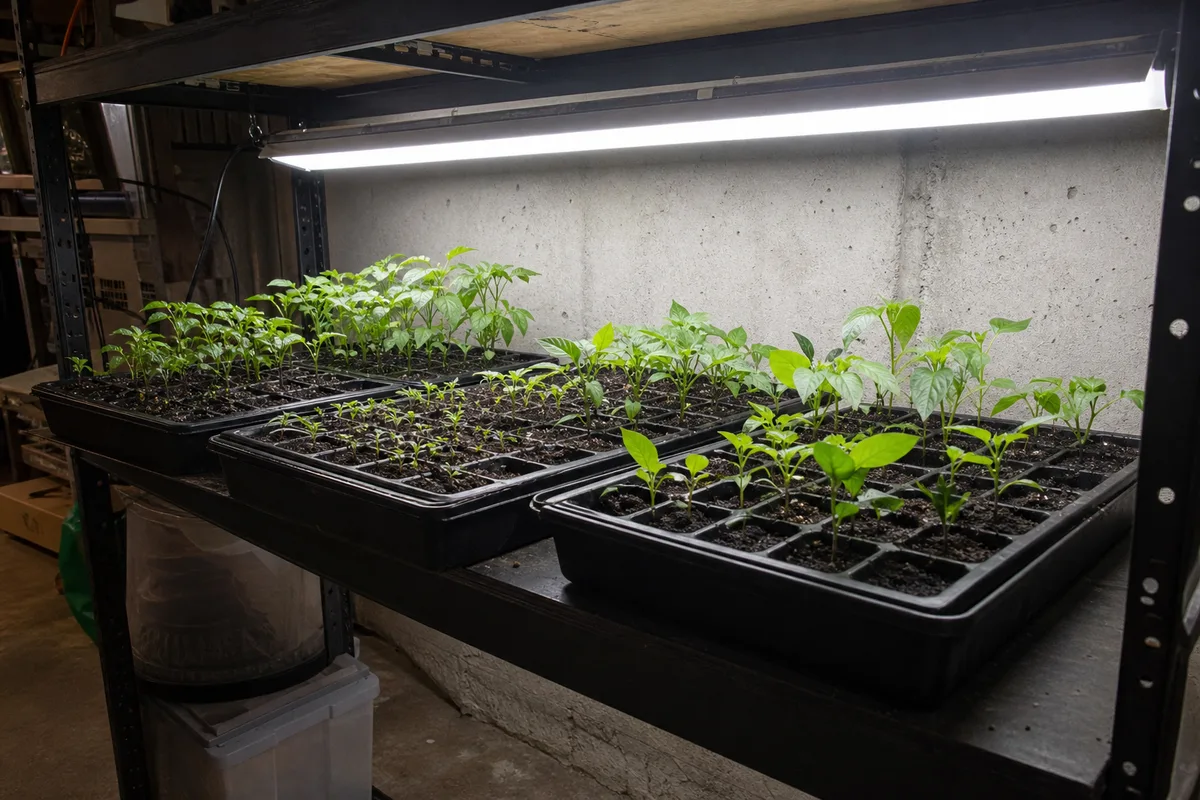
Space them with the mature size in mind, not the seedling size. A tomato seedling looks lonely at two feet apart in May and becomes a three-foot thicket in August. Follow the spacing on the seed packet or plant tag even when it feels absurdly generous, because crowded plants compete for light and air and invite trouble. If you are starting anything from seed indoors to get a jump on the season, the timing and setup that actually work are laid out in start seeds indoors; for a first year, though, there is no shame in buying transplants for the tomatoes and herbs and direct-sowing only the beans and lettuce.
This list will not thrill an experienced gardener, and that is the point. It is built to get a first-timer to a harvest instead of to a lecture on all the things that went wrong.
A realistic watering and weeding rhythm
A garden lives or dies on watering, and the specific mistake nearly everyone makes is watering too often and too shallow. Watering deeply twice a week beats a daily splash. The daily habit trains shallow roots that sit near the surface, and the first hot day you skip, those shallow-rooted plants wilt hard because there is nothing holding moisture down where they can reach it. Deep, less-frequent watering pulls roots downward, and deep roots are drought insurance.
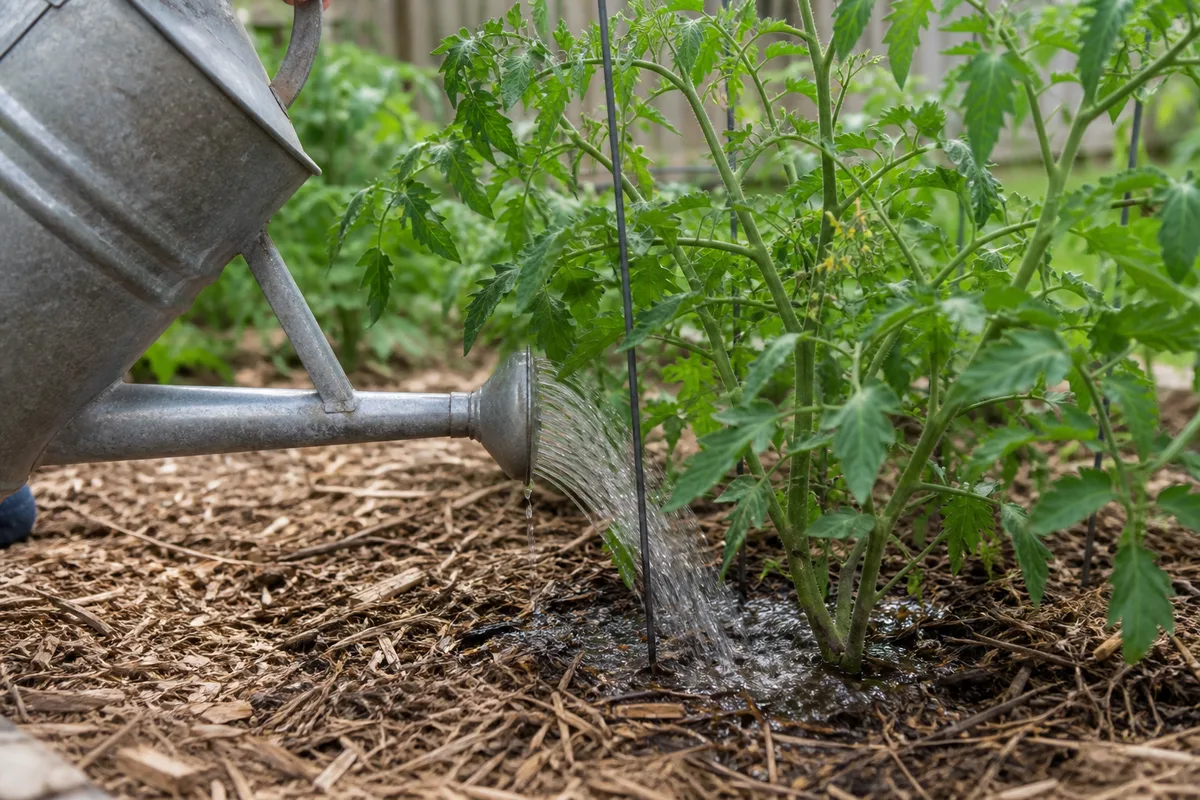 Watering the base of a tomato plant with a watering can
In practice, this means soaking the bed thoroughly two times a week rather than sprinkling it every evening. Thoroughly means the water reaches down six inches or so, which for most beds is more water than you think, roughly an inch of water across the surface per session in ordinary summer weather. Check by pushing a finger into the soil the day after: if it is dry an inch down, you did not water deeply enough, no matter how virtuous the evening sprinkle felt. Water at the base of the plants, not over the leaves, and do it in the morning so the soil surface dries through the day. Watering the base also keeps the leaves dry, which matters for plants like tomatoes that resent wet foliage.
There are honest exceptions. Newly sown seed and fresh transplants do need lighter, more frequent water for the first week or two until they root in, because their roots are still at the surface where you put them. Containers dry out much faster than beds and may genuinely need daily water in high summer. And a stretch of real heat can push even an established bed to a third watering in a week. The twice-weekly rule is the default rhythm, not a law; the point is to make deep watering your baseline instead of the shallow daily reflex. How you deliver that water matters too: a drip line automates the deep soak while hand watering gives you a daily look at the plants, and the trade-off between them is weighed in drip irrigation versus hand watering.
Mulch is the single most effective thing you can add to make this rhythm work. A two- to three-inch layer of straw, shredded leaves, or bark chips over the soil surface slows evaporation, keeps the roots cooler, and suppresses the weeds that would otherwise steal your water. A mulched bed can go longer between waterings and grows far fewer weeds, which folds your two chores into one.
On weeding: do it little and often. Five minutes pulling small weeds every few days beats an hour of hacking through an overgrown bed once a month, because small weeds come out easily and have not yet stolen much water or gone to seed. The moment a weed flowers, it is planning next year's invasion, so the rule is to pull before it seeds. This is where a small, tended bed wins again: you can clear a 4-by-8 bed of young weeds in a few minutes, and you will actually do it. A quarter-acre you will not.
The mistakes that end a first garden early
Most first gardens do not die of a dramatic failure. They die of a few ordinary mistakes that compound. Here are the ones I see end a season early, and how to skip them.
Planting too much. This is the big one, and it is worth repeating because it is so easy to do in the optimism of spring. Every extra bed and every extra crop is more watering, more weeding, more attention, and the surplus is the first thing you abandon when life gets busy. Start with one bed and five crops. You can grow into more; you cannot easily recover a plot you have already given up on.
Ignoring the sun. Putting a full-sun crop in a four-hour spot because it was the only open corner. The plant will not die outright, it will just sulk: leggy, pale, barely fruiting, a slow disappointment. Match the plant to the light. If the site is shady, grow greens and be happy with them.
Overwatering shallowly. Covered above, but it belongs on this list because it is a top killer disguised as diligence. The gardener who waters a little every day feels responsible and is actually training weak plants. Deep and infrequent.
Skipping mulch. An unmulched bed in July is a losing battle against evaporation and weeds at the same time. The few dollars and one hour that mulch costs pay back more than any tool you can buy.
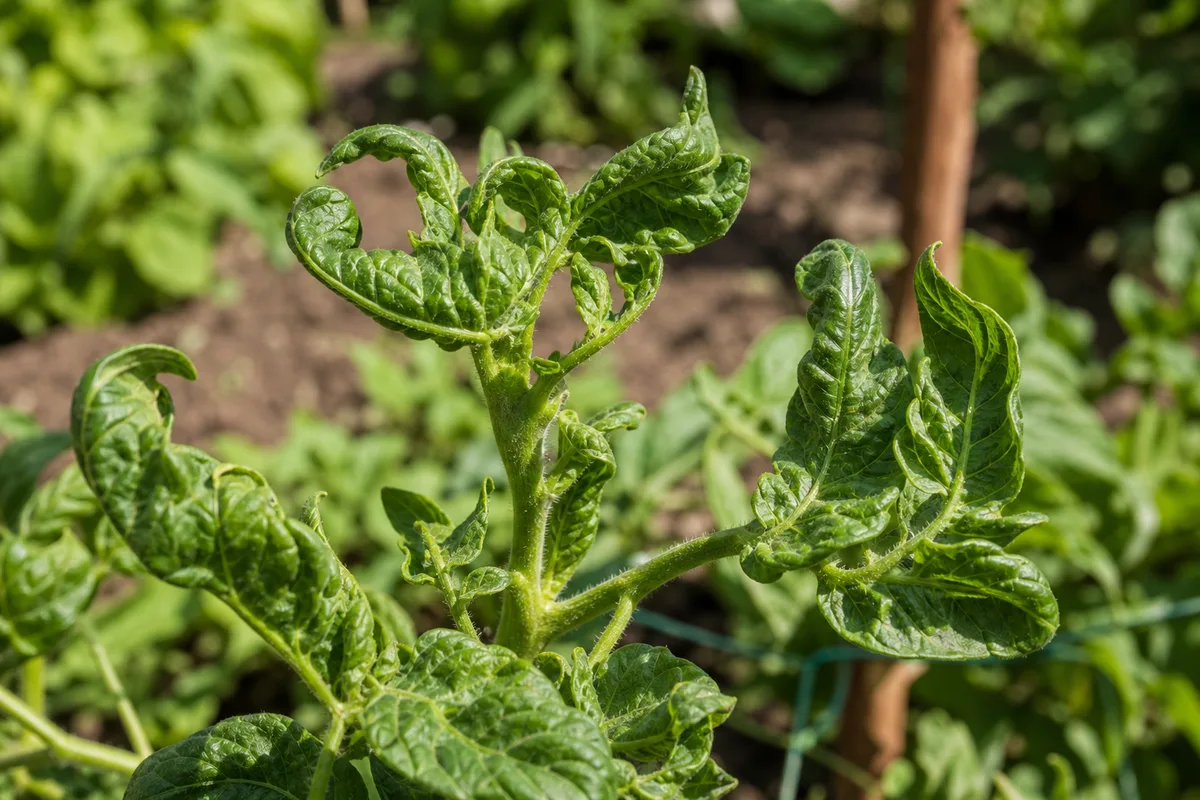
Reading a struggling plant wrong. When leaves curl, yellow, or spot, the instinct is to reach for a spray. Usually the cause is water, heat, or spacing, not a disease that needs treating, and spraying the wrong problem wastes effort and can make things worse. Tomato leaves in particular curl for several unrelated reasons, and telling them apart saves you from panic; I walk through it in why tomato leaves curl. Learn to read the plant before you treat it.
Giving up in the midsummer lull. There is a stretch in mid to late summer when the early excitement has worn off, the weeds are pushing, the tomatoes are still stubbornly green, and the harvest has not fully arrived yet. This is when gardens get abandoned. If you know it is coming, you can push through it, and the late-summer harvest is usually the reward on the other side. Expecting the lull is half of surviving it.
None of these is complicated. What makes them dangerous is that they are quiet: no single one kills the garden on the day you make it, so they accumulate until the plot feels like a burden. Name them, avoid them, and the season stays enjoyable.
Closing the season and setting up year two
The season does not end when the last tomato ripens; it ends when you put the bed to rest, and the hour you spend closing it down is what makes next spring easy.
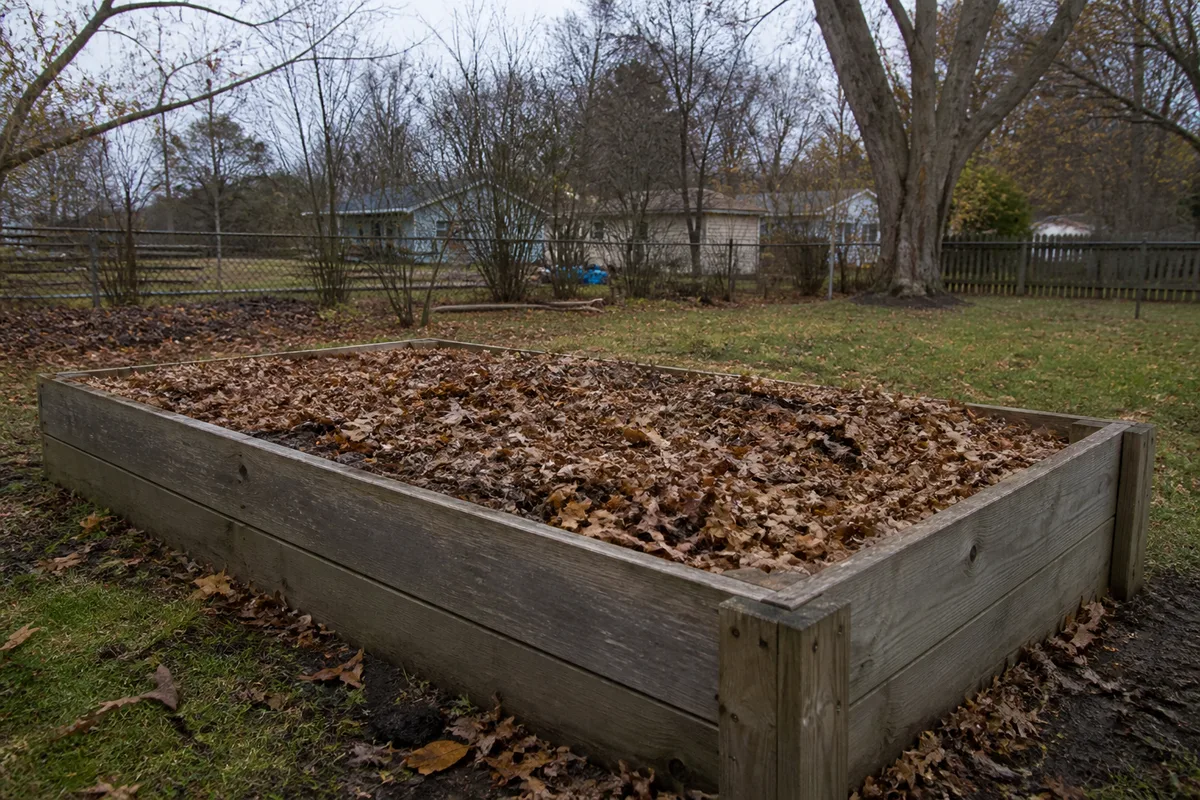
When frost has taken the summer crops, pull the spent plants and clear the bed. A decent pair of hand pruners makes cutting back woody stems and tangled vines far less of a fight, and choosing hand pruners covers the bypass-versus-anvil choice worth getting right the first time. Compost the healthy material and throw out anything that looked diseased rather than composting it, because some problems overwinter and come back. Do not leave the soil bare through winter if you can help it; a bare bed erodes, compacts under rain, and loses the structure you built. The simplest protection is to spread that two- to three-inch layer of mulch or shredded leaves over the top and let it sit. It breaks down slowly and feeds the soil, and it means you are starting next spring with better ground than you finished with. The whole shutdown, which plants to pull versus cut at the soil line, when to stop watering, and whether mulch or a cover crop should hold the bed until spring, is walked through step by step in putting the garden to bed for winter.
This is also the moment to take five minutes and write down what actually happened, while it is fresh. Which crops carried the bed and which underperformed. Where the sun really fell in July once the trees leafed out. How often you truly watered versus what you planned. Whether one bed was too little, just right, or already plenty. These notes are the whole payoff of treating year one as a calibration run: next spring you plan from what your yard did, not from what a catalog promised.
Then, and only then, decide about expanding. If the season felt light and you found yourself wanting more, add a second bed. If it felt like exactly enough work, keep one bed and grow a better version of it, swapping out the crop that disappointed you for something new. Both are wins. The gardener who ends year one with a working plot, a handful of good notes, and the honest knowledge of how much they can tend is far ahead of the one who built four beds and burned out by August.
That is the entire arc of a first season: read your site, pick one spot, build one bed, plant a short forgiving list, water deep and mulch heavy, dodge the quiet mistakes, and close it down with a few notes. Keep it small enough to finish, and you will not just get through the first season. You will want a second one.