The first workbench I built was a wobbler. It looked fine standing empty, but the moment I leaned into a hand plane the whole thing shrugged sideways a quarter inch and sprang back. I had spent a Saturday and a good pile of lumber to build something worse than the plastic folding table it replaced, because a bench that moves under you is not a work surface, it is a distraction that fights every cut and every push. A racking bench is genuinely worse than no bench, because you stop trusting it and start bracing it with your hip.
This article is the bench I build now, after learning that lesson the expensive way. It is one design, in ordinary construction lumber, put together with a drill and a saw in an afternoon. There is nothing clever in it, and that is the compliment. The whole point is the opposite of clever: a few boring decisions about bracing and the top that make it sit dead still while you work it hard. If you follow the order below and check one thing before the glue sets, you will end up with a surface you can hammer on, clamp to, and lean your bodyweight against without it ever talking back.
One design that solves the wobble problem
A workbench wobbles for one reason: the four legs can lean together like a parallelogram, a motion called racking. Nothing about good screws or expensive lumber prevents it. What prevents it is triangulating the frame so the legs cannot lean, and the cheapest, most reliable way to triangulate a four-legged frame is to tie the bottoms of the legs together with a shelf.
That lower shelf is the single most important part of this whole build, and it is the part beginners leave off because it looks optional. It is not. A lower shelf tying the legs together is what stops the racking wobble, and if you skip it, even tight, well-driven joints will loosen within a month of real use, because every push you make into the bench works those top joints back and forth until the screws chew out their holes. With the shelf in place, a push at the top of the bench has to fight the entire footprint of the frame, not just four corner joints. The bench stops being four legs and a top and becomes one box.
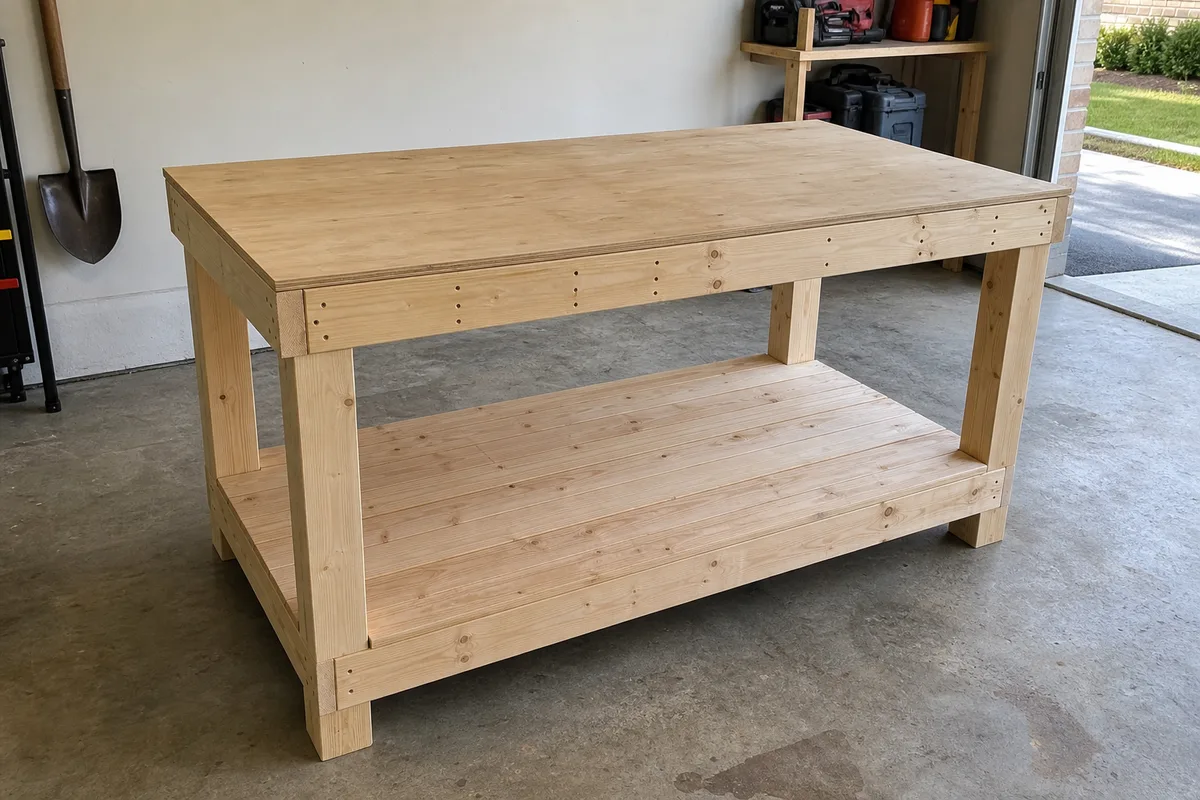
The design is a simple trestle: two end frames, each made of two legs and two rails, connected by long aprons at the top and long rails at the bottom that carry the shelf. The top is two layers of plywood laminated together and dropped on. Everything is butt-jointed and screwed, with glue at the joints that matter. No mortises, no dowels, no pocket holes required. Finished, it stands about 60 inches long, 24 inches deep, and 36 inches tall, which is a comfortable standing height for general work and matches most hand tools without making you stoop.
Cut list and materials under a set budget
Everything here comes from the dimensional lumber and sheet goods any lumberyard stocks. Buy straight boards: sight down each 2x4 from the end and reject anything that curves or twists, because you cannot straighten a bad board with screws, you can only build the crook into your bench and think about it every time you look at it.
The cut list, all from standard framing lumber and one sheet of plywood:
- 4 legs: 4x4 at 34.5 inches. The 4x4 is what makes this beginner-proof; a solid post cannot rack the way a single 2x4 leg can, and you skip the fuss of gluing thinner legs together.
- 4 end-frame rails: 2x4 at 17 inches, two per end frame, joining the leg pair front to back.
- 4 long members: 2x4 at 54 inches, two as top aprons and two as bottom shelf rails, connecting the end frames along the length.
- Top: two pieces of 3/4-inch plywood at 60 by 24 inches.
- Lower shelf: one piece of 3/4-inch plywood, roughly 54 by 17 inches, cut to drop between the bottom rails.
For fasteners, get a box of 3-inch construction screws for the frame and a box of 1.25-inch screws for laminating the top from underneath, plus a bottle of ordinary wood glue. One sheet of plywood yields both top layers if you have it cut 24 inches off the long edge twice; most yards will make those cuts for you, which also gets a factory-straight edge. In total you are buying four 4x4 posts, about five 8-foot 2x4s, and one sheet of plywood, which is a short enough list to fit in most cars if the yard makes the plywood cuts.
One habit worth adopting: buy the lumber a few days early and stand it indoors or in the garage where the bench will live. Framing lumber leaves the yard wet and moves as it dries, and a 2x4 that was straight on the rack can pick up a bow overnight if you build with it soaked. Letting the boards sit a couple of days in the space where they will be used means whatever movement is coming happens before you cut, not after you screw. If a board twists during that wait, use it for the shelf or cut it into short rails where a twist does no harm, and save the straightest stock for the legs and the top aprons.
On budget: the two biggest dollar decisions are the legs and the top. Skipping a hardwood slab is the easy call. Two layers of 3/4-inch plywood glued and screwed make a top that will not dent or bounce, for a fraction of the price of a hardwood benchtop, and it is flatter out of the gate than a glued-up plank top a beginner is likely to produce. A whole bench in these materials lands in the range of a cheap folding table and outlasts it by decades.
Tools you need and ones you don't
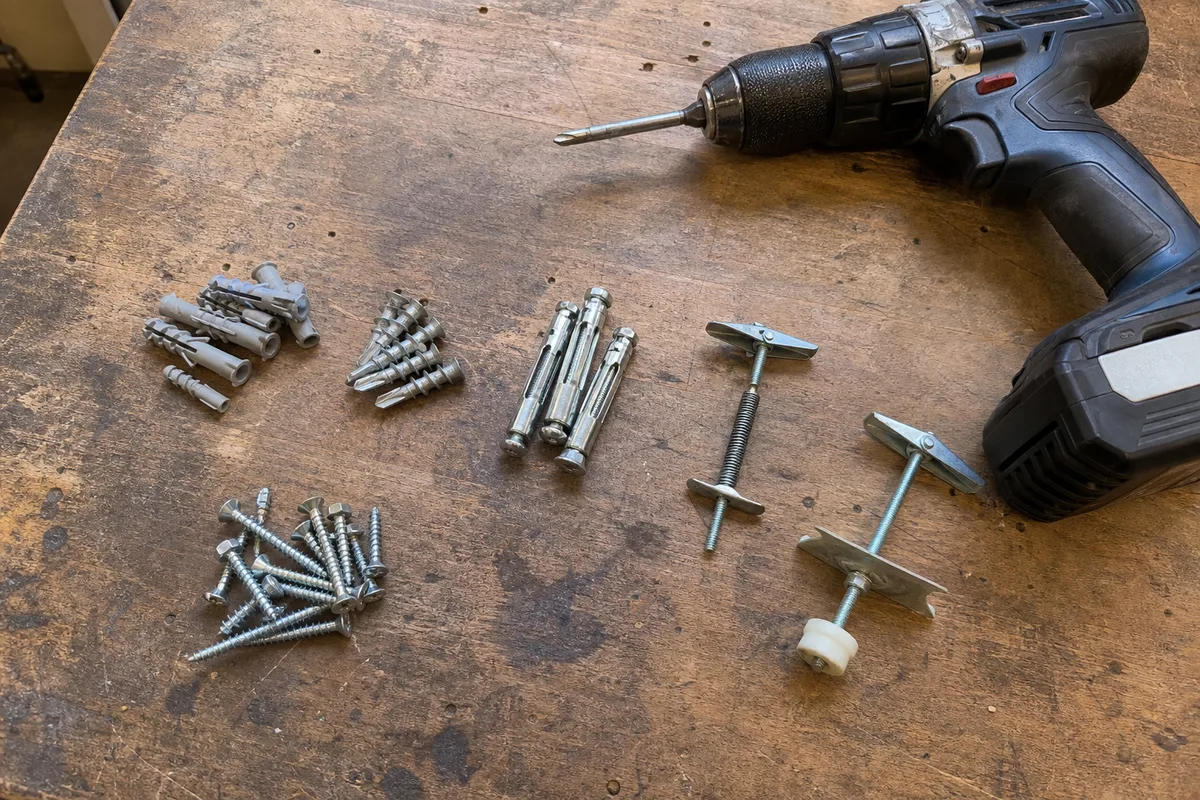
You can build this with a circular saw, a cordless drill, a tape measure, a speed square, a pencil, and a couple of clamps. That is the honest floor. If you are still assembling your kit, the pieces that matter most here are covered in our guide to building a starter tool kit, and the drill is the tool that does ninety percent of the work on this project.
A few specifics on what actually earns its place:
- A drill and an impact driver, or one good drill. Driving 3-inch screws into 4x4 legs by hand is a way to strip screw heads and stall halfway in. A drill with any decent torque handles it. If you only own one driver, drill pilot holes first, which you should do near the ends of boards anyway.
- A speed square. Not for cutting perfectly, but for marking square lines and checking that a leg meets a rail at a real 90 degrees before you drive the screw.
- Two clamps, minimum four is better. The top lamination wants even pressure, and clamps hold parts still while you drive the first screw so nothing shifts.
What you do not need: a table saw, a jointer, a planer, biscuit or domino joiners, or a pocket-hole jig. People delay this build for years waiting to afford tools the build does not use, which is a lot of Saturdays spent working on a plastic folding table. If you want to understand how these tools fit together into a working space, our overview of setting up a home workshop covers the sequence, but none of it is a prerequisite for this bench. A drill and a saw is the whole story.
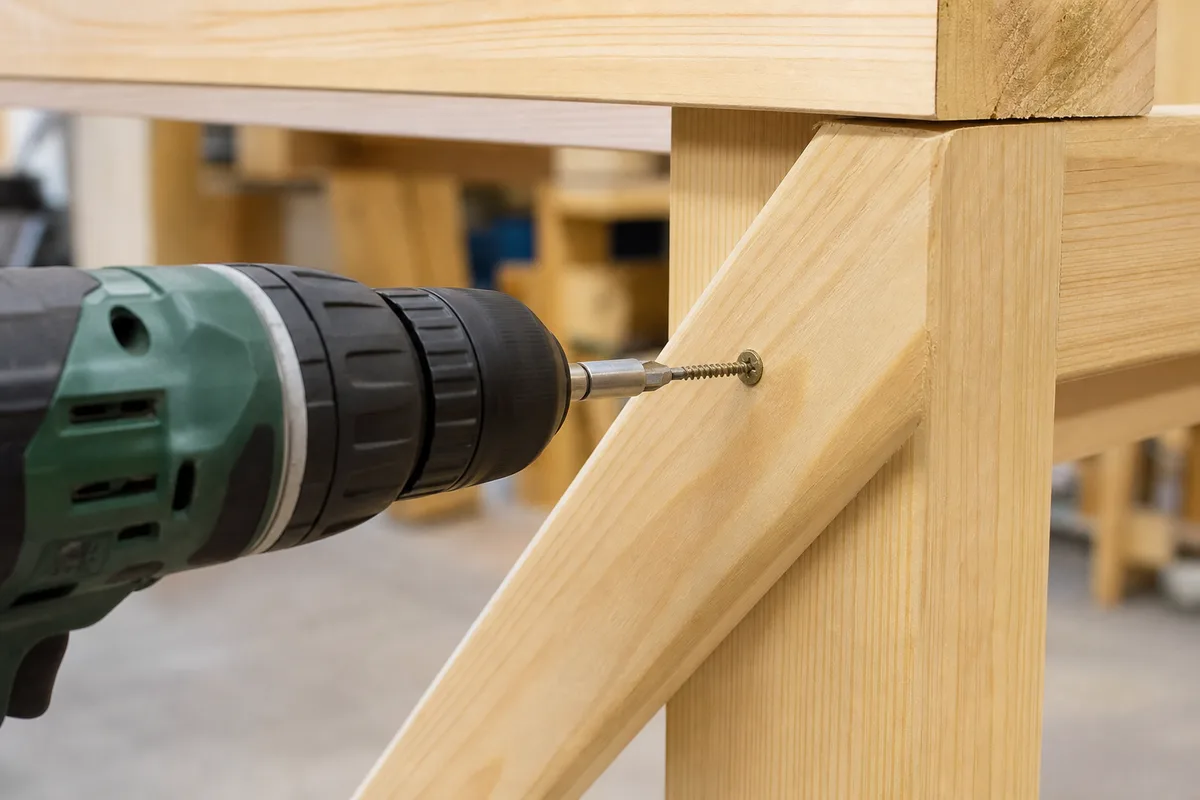 Driving a screw into a workbench leg brace with a cordless drill
Building the leg frames
Start with the two end frames, because they are small, identical, and forgiving, and getting them right sets up everything after. Each end frame is two legs joined by two of the 17-inch rails, one near the top and one near the bottom.
Lay two legs on the floor parallel, 17 inches apart on the inside. Set the top rail so its top edge is flush with the top of the legs; this rail carries the front-to-back load of the top. Set the bottom rail about 4 inches up from the bottom of the legs, which puts the lower shelf a comfortable height off the floor and keeps it clear of anything you store beneath. Mark where each rail meets each leg.
Before any screws, drill pilot holes. Into a 4x4, a 3-inch screw driven dry near an edge will split the post more often than not, and a split leg is scrap. Two pilot holes per joint, then two screws per joint, driven from the outside face of the leg into the end of the rail. Add a bead of glue on the mating faces first; the glue does the long-term holding and the screws act as clamps while it cures.
Check the inside corner with your speed square as you drive the first screw of each joint, because the second screw will lock in whatever angle the first one set. Once both rails are in on one frame, build the second frame directly on top of the first as a template, so the two ends come out matched. Two mismatched end frames are the quiet reason a finished bench sits with one leg off the floor, forever auditioning for a matchbook under it, and matching them now costs nothing.
A note on pilot-hole size, since this is where a lot of first benches split a leg: use a bit a touch smaller than the shank of the screw, not the threads. For a typical 3-inch construction screw that means roughly a 1/8-inch bit. Too small and the screw still wedges the wood apart; too large and the threads have nothing to bite. Drill the pilot the full depth the screw will travel, not just through the rail, because the resistance that splits a 4x4 comes from the screw tip driving into dense dry post material at the end of its run. If you hear the drill bog down and feel the screw stop advancing, back it out and deepen the pilot rather than leaning harder on the driver.
Adding the bracing that stops racking
With both end frames done, stand them up 54 inches apart and connect them with the four long 2x4 members. This step is where the bench either becomes rigid or stays a wobbler, so it is worth doing deliberately rather than racing to see it stand.
The two top aprons run along the front and back, screwed to the outside faces of the legs with their top edges flush to the tops of the legs. Position the end frames about 3 inches in from each end of where the top will sit, which leaves an overhang at each end for clamping later. The two bottom rails run along the front and back as well, screwed to the legs at the same height as the bottom end rails, so all four bottom members sit in one plane to carry the shelf. Glue and two screws at every leg, into pilot holes again.
Now the shelf. Drop the 54-by-17 plywood shelf onto the four bottom rails and screw it down around its perimeter every 8 to 10 inches. This is the move that ties everything together. The shelf turns the four separate bottom rails into a single rigid panel, and that panel is what refuses to let the legs lean. Push hard on the top corner of the frame now and compare it to how it felt before the shelf went in; the difference is not subtle, and it is the closest thing to instant gratification this hobby offers. A frame that swayed under a two-finger push will barely move under your shoulder once the shelf is screwed down. That is the racking gone, and it is why the shelf is not a place to store things later so much as it is a structural member that happens to hold things.
Laminating a top that lasts
The top is two sheets of 3/4-inch plywood face-glued into one 1.5-inch slab. Doing it in two layers instead of buying one thick board is not a compromise; a laminated top is dead flat, heavy enough to stay put, and stiff enough that a hammer blow does not bounce.
Spread glue across the full face of the bottom sheet, not just a few beads. You want near-total coverage so there are no hollow spots that can flex or drum. Set the second sheet on top, line up the edges, and weigh it down or clamp it around the perimeter. Then drive the 1.25-inch screws up through the bottom sheet into the top sheet, spaced roughly every 10 inches in a grid, staying short enough that they never break through the working surface. The screws pull the two layers tight while the glue cures and become permanent clamps you never have to remove.
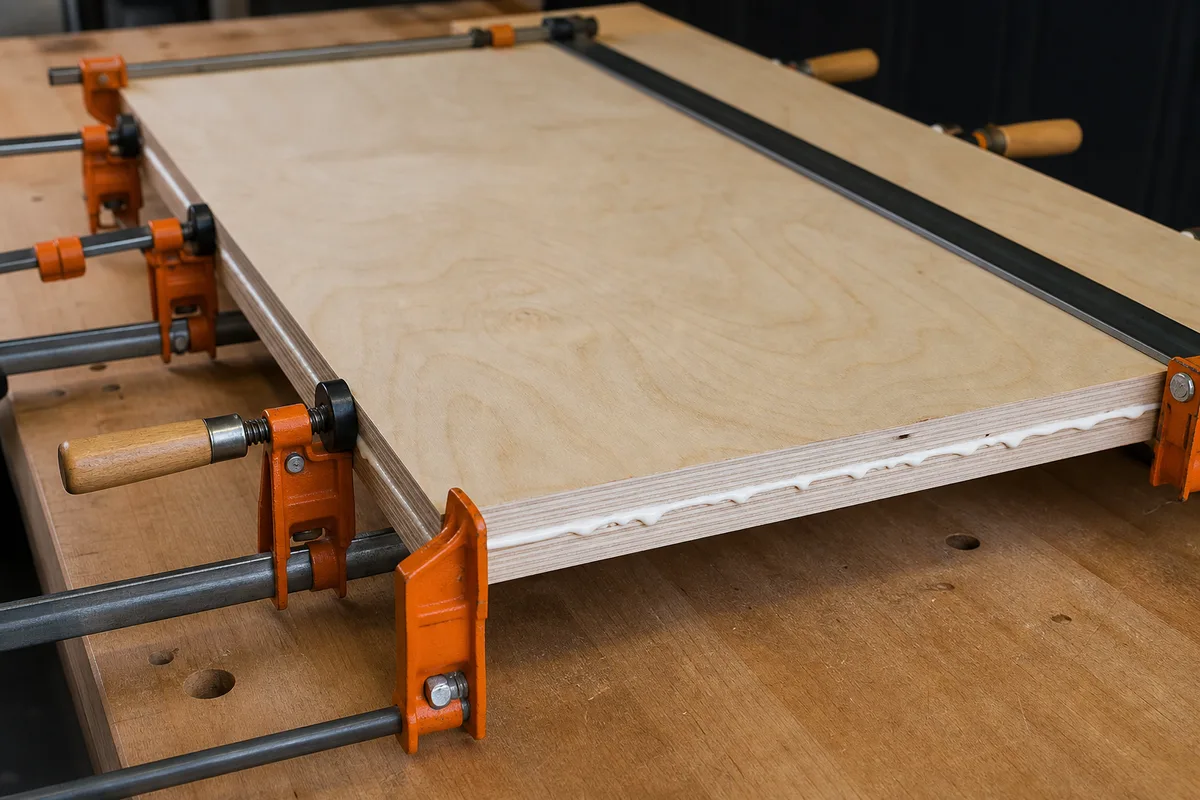 Gluing and clamping two plywood layers for a workbench top
Let the glue cure before you flip and mount it; most wood glues want a couple of hours under pressure before they take real load, overnight if the shop is cold. When it is ready, set the slab on the top aprons, center it so it overhangs about 3 inches at each end, and screw up through the top aprons into the underside of the top. Screwing from below keeps the working surface clean and clamp-friendly, with no screw heads to catch a project or a straightedge. A sanded ease on the edges and a wipe of the surface is all the finish it needs; a shop top is a tool, not furniture.
Squaring and leveling on an uneven floor
Here is the check that separates a bench you trust from one you fight, and it has to happen before the glue in the frame joints sets hard. Measure the two diagonals of the top frame, corner to corner. If they are equal, the frame is square. If they differ, push the longer diagonal's corners toward each other until the two measurements match, then let it cure holding that shape.
This matters more than it sounds. Build it just 1/2 inch out of square and a heavy vise mounted on one corner will rock the whole bench, because an out-of-square frame has no flat footprint to sit on and a load at one corner levers the opposite corner up. Checking the diagonals costs one minute and fixes a problem you otherwise cannot undo. On a bench this size, aim to get the two diagonals within about an eighth of an inch of each other; closer is better, but that is close enough to sit rock steady.
While the frame is drying, it is also the moment to check that the top frame is not just square but flat, meaning all four top corners sit in one plane. Set the frame on the flattest floor you have and try to rock it. If it rocks, one leg is either long or the frame has a slight twist wound into it. A twist you catch now can be pushed out by weighting the two high corners while the joints cure; a twist you find after everything is hard becomes a shim job for the rest of the bench's life. Sighting across the two top aprons from one end, with your eye down at the level of the wood, will show a twist as the far apron appearing tilted relative to the near one.
Floors are the other half. Garage and basement slabs are rarely flat, and a rigid four-legged bench on an uneven floor will rock on two diagonal legs no matter how square it is. Do not try to fix this by cutting a leg. Instead, find the short leg by rocking the bench, then glue or screw a thin shim, a scrap of plywood or a stick-on furniture pad, under that one foot until the rock disappears. Adjustable feet work too if you want to get precise, but a shim glued to the low foot is free and permanent. Get it steady on the floor it will actually live on, not the flat spot where you assembled it.
Add-ons later: vise, pegboard, and power
Build the bench, use it for a month, and let the way you actually work tell you what to add. Bolting on hardware before you know your habits usually means putting it in the wrong place. When you are ready, a few additions earn their keep without complicating the build.
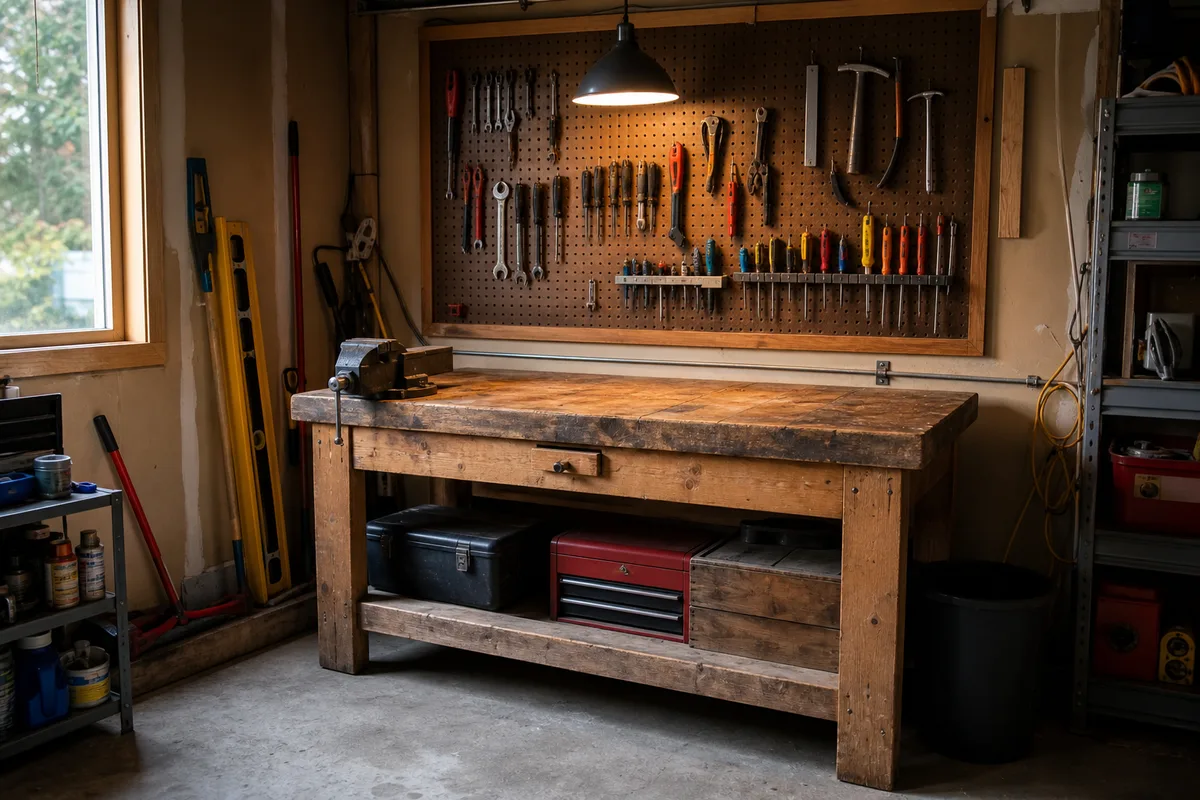
A bench vise is the first upgrade most people want, and this top is ready for it. Mount it at a front corner so long stock can hang past the end, and back the mounting bolts with a block underneath so the clamping force spreads into the laminated top rather than pulling through the plywood. This is also the payoff for squaring the frame earlier; a vise cranked down on a true bench stays put, and on a racked one it becomes the lever that rocks everything.
A sheet of pegboard screwed to the wall behind the bench, or hung from a simple 2x4 frame if there is no wall, gets your most-used tools off the surface and into sight. Keep the hooks for the ten tools you reach for constantly and resist filling the whole board; a pegboard crammed with everything is as useless as a drawer, just more visible about it. For power, a plug-in power strip clamped or screwed to a leg, with the cord run cleanly to a wall outlet, is plenty for a drill charger and a light. Leave hard-wired electrical to a licensed electrician; there is no reason to open a circuit for a workbench, and the boundaries of what is worth doing yourself are worth knowing, which is the whole premise of our pillar on essential home repair skills.
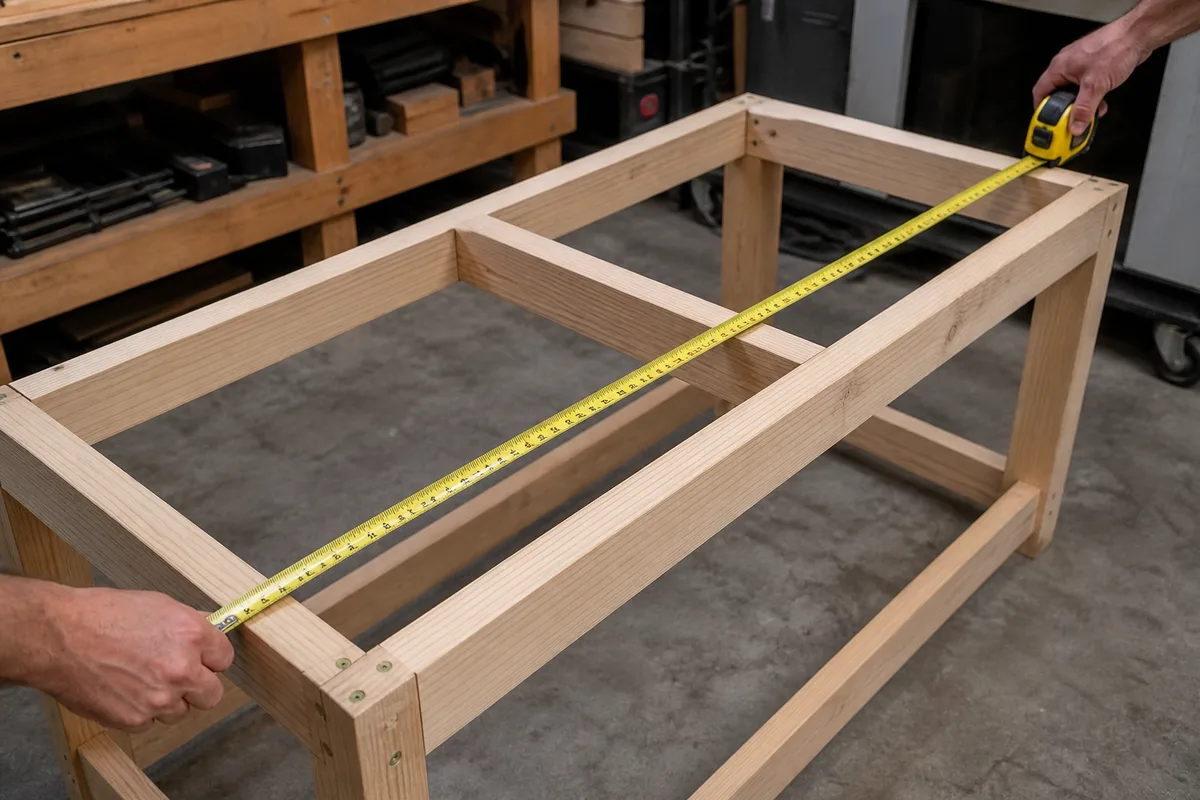 Measuring the diagonal of a workbench frame to check for square
None of these add-ons matter if the bench underneath them moves, which is why every earlier step earns its place. Get the shelf in, the diagonals matched, and the top laminated flat, and you will have a surface that sits still through years of clamping, sawing, and leaning. It will not be the prettiest bench in anyone's shop. It will be the one that never once wobbles while you work, and after building a few, I have come to think that is the only thing a workbench really owes you.